 (Image via
Crisp sheets of colored paper can quickly become charming figures that brighten up any room. Folding each piece by hand brings a sense of satisfaction, as you watch flat paper change shape and come alive in your hands. This creative process encourages exploration, inviting you to try new folds and techniques while enjoying the playful results that emerge. Each finished piece adds a unique splash of color to your space and provides a small sense of accomplishment. In this guide, you will find clear instructions for seven eye-catching designs, each chosen for its appealing look and inventive construction.
Discovering Unexpected Inspirations
Origami shines when you push beyond predictable folds. By exploring asymmetrical designs, you tap into fresh artistic rhythms that enliven your workspace and mind. Each fold invites a micro-adventure: you navigate subtle curves, develop fine motor skills, and watch geometry become creature form without relying on mold or glue.
These unconventional pathways strengthen the connection between your hand and your idea. You learn to anticipate how a valley fold echoes in the creature’s snout or wings. You free yourself from straightforward tutorials to experiment with color placement, layering bold patterns on ears or tails. This approach gives your paper menagerie an authentic, handcrafted signature.
Practical Examples of Colorful Critters
- Crimson Fox – Forest motif
- Pattern: Emphasizes sharp angular folds for pointed ears and a bushy tail
- Unique feature: A color-flip technique allows vivid red tips to peek through ivory backing on each ear
- Cost: Uses a single 6-inch double-sided sheet, widely available online or at craft stores under standard origami packs
- Insider tip: Trim a 2mm strip from the bottom edge before starting to prevent crowded layers around the tail section
- Golden Tortoise – Traditional category
- Pattern: Celebrates gentle curves with overlapping shell layers that mimic natural hexagonal patterns
- Unique feature: A step-by-step guide folds a petal base into segmented shell plates without extra cuts
- Cost: Requires 3 sheets of 4-inch paper in complementary metallic tones; most hobby shops carry similar foil-backed paper
- Insider tip: Use a bone folder to press shell creases sharply—this technique produces crisp sections that won’t unravel over time
- Azure Hummingbird – Bird series
- Pattern: Showcases rapid mid-fold color exchanges to highlight slender wings in contrasting blue and teal
- Unique feature: Wing structure uses a reverse-fold sequence creating micro-detail feathers that catch light from multiple angles
- Cost: A single 5-inch sheet of high-tensile kami paper; widely sold in beginner kits
- Insider tip: Gently dampen only the creasing area with a fine mist before each reverse fold to prevent tearing ultra-thin layers
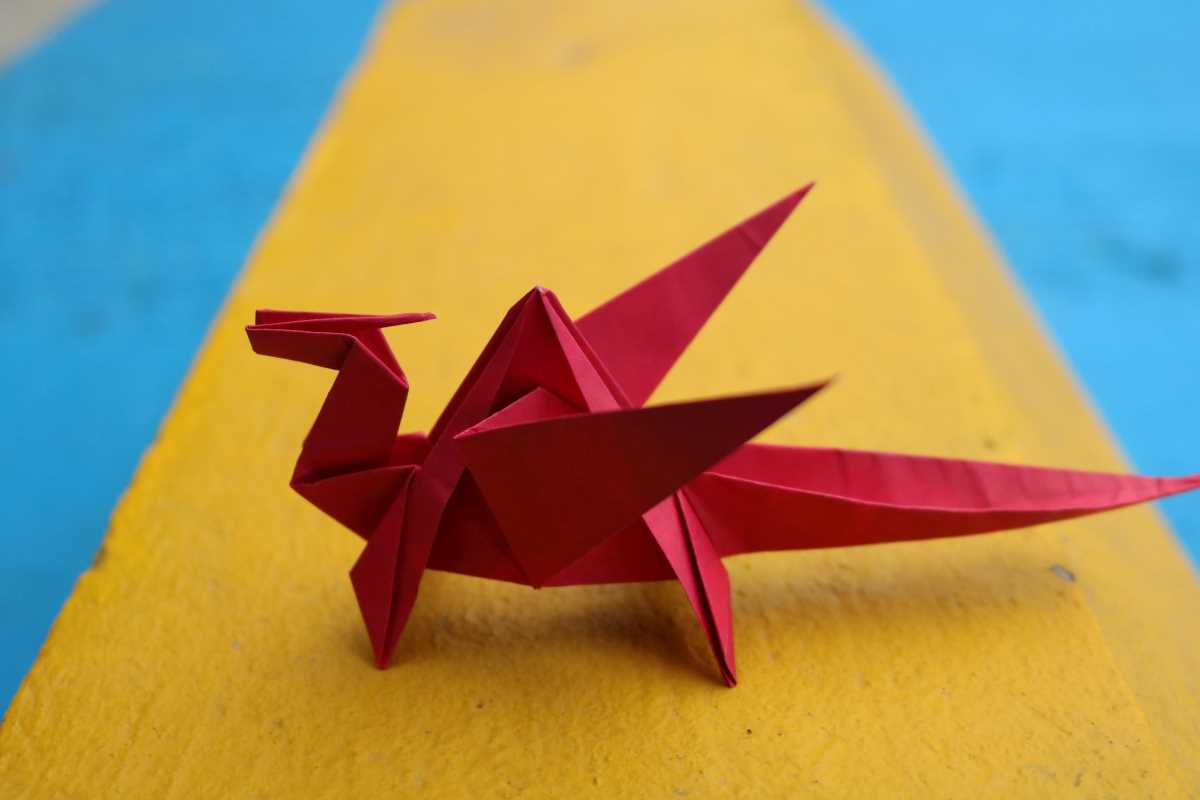
- Jade Dragon – Mythical creatures
- Pattern: Balances long spine curves with discrete head horns
- Unique feature: A hidden pleat trick tucks away excess paper in the body so the neck remains smooth and flexible for pose adjustments
- Cost: Employs one 7-inch washi sheet; specialty art stores stock similar fiber-based paper
- Insider tip: Pre-crease all major spine segments before forming the head to ensure consistent curvature along the neck and prevent stiff joints
- Cerise Puppy – Pet collection
- Pattern: Playful stance built on squat triangular legs and a tilted head for expressiveness
- Unique feature: Nose and collar details integrate with ear folds to avoid separate attachments, keeping the model seamless
- Cost: A single 5-inch patterned sheet; available in mixed-color pads
- Insider tip: Use a tweezers tip to press tiny collar flaps into place after initial leg folds to secure crisp lines around the neckline without adding bulk
Guidelines for Customizing Color Placement
Observe how each pattern interacts with patterned or foil-backed paper. The Crimson Fox benefits from bold contrast, so position bright hues toward exterior flaps. The Golden Tortoise depends on multi-tone shells that require precise sheet orientation before folding begins. Carefully choose which side faces up to keep the intended effect.
Mix and match these ideas: layer two thinner sheets with opposing colors to produce a shimmering peekaboo effect at strategic folds. For pets like the Cerise Puppy, place the brightest shade on ear tips and paws, then fold flexible regions inward. This tactic emphasizes articulation and brings expression to life.
Common Folding Frustrations to Avoid
- Work on a stable surface when creasing: always ensure firm support to keep valley cuts precise and consistent rather than loose or messy.
- Use appropriately sized sheets for detailed mini-patterns: too much paper complicates small reverse folds and risks tearing delicate sections around ears and tails.
- Pre-crease all major fold lines before starting detailed steps: this step ensures symmetry and prevents frustration during the process.
- Plan your color placement before folding: preview sheets under light to confirm reflective surfaces won’t obscure tiny flaps, especially with metallic or foil-backed paper.
- Lightly score heavy paper beforehand: use a bone folder to press creases firmly—this step helps models avoid springing open after releasing tension.
Next Steps to Broaden Your Folding Skills
Expand your folding skills by joining workshops or craft groups to share techniques and get feedback. Watch detailed tutorials to master advanced folds and experiment by combining elements from different models. With practice and creativity, your paper creatures will grow into a unique and expressive collection.
.jpg)


