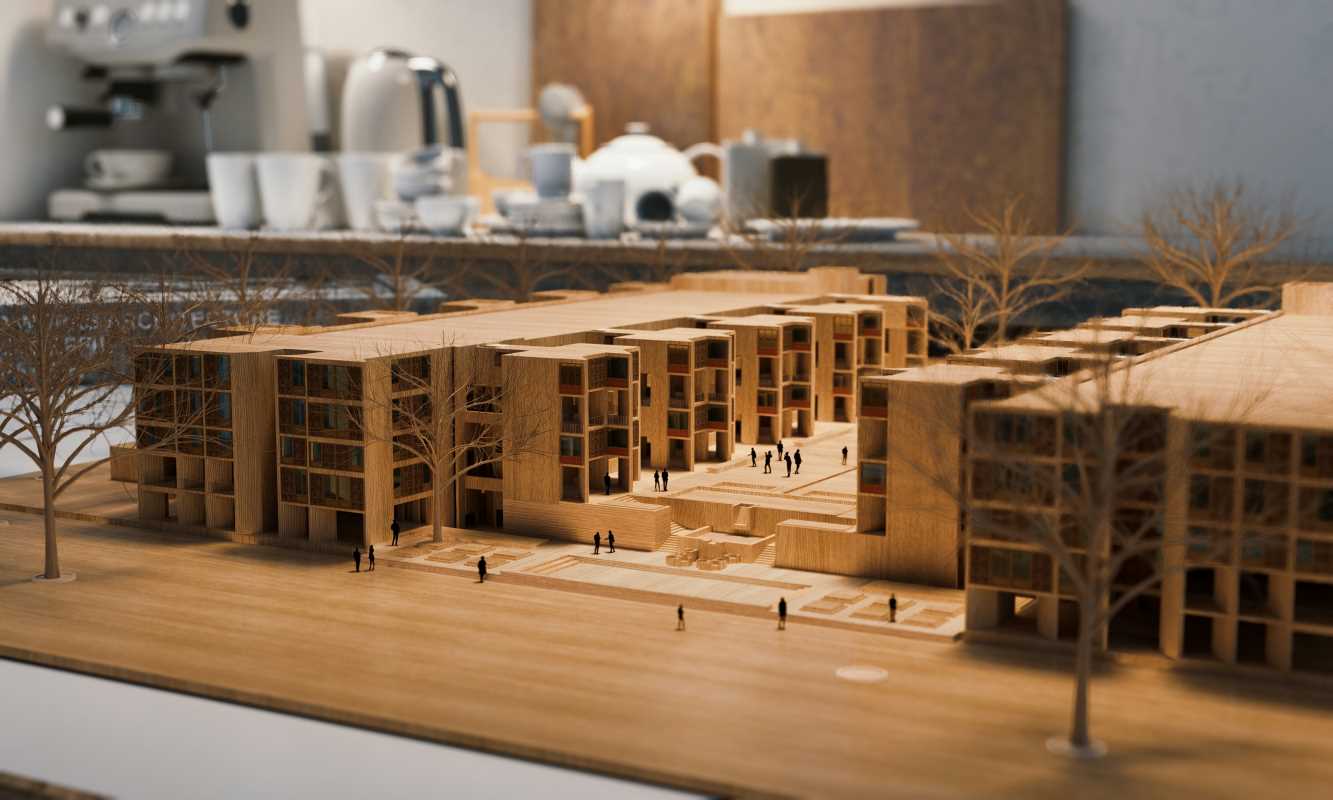
Delicate woodland glades come alive with swaying leaves and hidden creatures tucked behind carefully sculpted bushes. When you peer into a miniature scene crafted from paper, a sense of wonder and endless possibility fills the air. Turning plain sheets into detailed landscapes calls for steady hands, creative thinking, and a playful approach to scale. Shaping a fragile fern or carving the graceful lines of an architectural archway, each careful cut and gentle fold builds a scene that feels uniquely your own. Crafting these tiny paper worlds unlocks new avenues of creativity and invites you to discover fresh inspiration with every project you begin.
What Makes Intricate Cutting Captivating
Paper cutting entices with its graceful combination of art and engineering. Instead of relying on flashy colors or elaborate machinery, it invites you to refine a simple tool—your craft knife—into an extension of your vision. Through controlled incisions, you coax depth, shadow, and movement from a static sheet. The quiet focus required becomes almost meditative, turning each session into a lively collaboration between your intuition and the material’s surprising flexibility.
Every curve and angle holds potential for storytelling. This creative process encourages you to embrace constraints—thin margins, fragile bridges, parallel lines mere millimeters apart—and discover how limitations fuel your ingenuity. With every layer you peel back or window you carve, you reveal not only structural complexity but also narrative layers that beckon viewers to explore further.
- Subtle transparency enhances depth by allowing background silhouettes to glow against foreground cutouts, creating immersive scenes that shift as light moves.
- Strategic perforations let you craft dynamic shadows when backlit, adding drama without extra components or paint.
- Interlocking tabs secure moving parts—drawbridges or spinning wheels—so you can build interactive miniatures that delight curious hands.
- Graduated layering uses progressively darker paper tones to mimic atmospheric perspective, guiding the eye from bold foreground forms to gentle distant shapes.
- Negative space transforms into active composition elements, where what you choose to leave uncut speaks as loudly as the lines you carve.
Essential Tools and Materials Explored
- Precision Craft Knife: This blade functions as your primary instrument for carving fine details into paper. Hold it at a slight angle, start with light passes to outline shapes, deepen cuts gradually, and clean the blade often for crisp edges. Blades typically cost around $5 each and fit standard holders. Insider tip: score your paper lightly first, then press deeper on the second pass to avoid jagged lines.
- Self-Healing Cutting Mat: Protect your work surface and preserve blade sharpness by aligning paper on the mat’s grid lines, rotating the sheet for different angles, and trimming multiple pieces at once for efficiency. Mats range from $15 to $30 depending on size. Insider tip: flip the mat regularly to even out wear and maintain a smooth cutting plane.
- Archival-Quality Cardstock: Choose weights between 200–300 gsm for sturdy diorama walls and delicate elements. Layer sheets by gluing edges, press under a heavy book for 10 minutes, then trim to size. A pack of ten usually costs about $12. Insider tip: mix slightly varied hues within a single layer to simulate natural terrain variations.
- Micro-Detail Scissors: Use these scissors for tight curves and internal cuts. Begin by creating a small starter hole with the knife, then insert scissor blades, snip along the curve in short bursts, and rotate the paper—not the scissors—to keep lines fluid. Premium models cost around $20. Insider tip: sand scissor tips with fine-grit paper for even sharper snips.
- Transparent Acrylic Sheets: Incorporate clear layers to replicate water surfaces or glass panes. Cut acrylic to match paper openings using a plastic cutter, file edges smooth, then secure with acid-free adhesive. Sheets start at $5 for small sizes. Insider tip: score back and forth gently without pressing too hard to avoid unwanted cracks.
Hands-On Techniques for Layering and Depth
Building depth transforms a flat cutout into a scene that viewers explore like a storybook. Start by sketching overlapping shapes and assigning each to a specific layer. Cut from the frontmost to backmost, labeling the back of each piece with a number in faint pencil. Stack layers on foam spacers or thin double-sided tape, adjusting distances until shadows fall naturally. Experiment under different lights; moving a lamp lets you preview sunrise or twilight moods without changing colors.
For even greater nuance, paint interior surfaces with subtle gradients before assembly. Use watercolor washes on cardstock—the paper slightly buckles, which actually enhances the organic feel of hills or tree bark. Seal with a light spray of fixative to preserve vibrancy. Embrace small imperfections; they add character and a handcrafted signature to your panorama. If any delicate filaments tear during assembly, reinforce them from behind with a narrow strip of tissue paper and clear glue for invisible patches.
When you’re ready to add focal points—tiny benches, fairy lights, or miniature bridges—consider embedding LEDs or using reflective paper to suggest motion.
Tips for Finishing Details and Texture
Details breathe life into miniature worlds. Lightly brush edges with chalk pastels to simulate weathering on stone ruins or the soft glow of dawn on foliage tips. Dust layers gently after assembly so pigments settle only in crevices, creating natural gradients. For rough textures like bark or rocky ground, press a small piece of crumpled aluminum foil onto wet gesso, then peel away to leave a subtle relief pattern.
Paper sanding sticks help you round corners or distress surfaces without tearing. Rub along raised edges to expose inner paper fibers and create an organic texture that catches light differently. If you crave metallic accents, swipe a sliver of gold leaf adhesive sparingly along edges of railings or signposts. Seal everything with a matte spray to unify surface sheens and protect against dust.
Common Pitfalls and How to Avoid Them
Avoid clutter in your miniature scenes by limiting standout elements to one or two per visual layer—foreground, midground, and background. Use precision tools to apply glue only where needed, and keep cleanup supplies handy to prevent stains. These small adjustments help maintain clarity and elevate the storytelling in your paper creations.
As you refine these approaches, each slice of paper tells a miniature story, blending texture, light, and shadow. The result is a captivating visual narrative.

