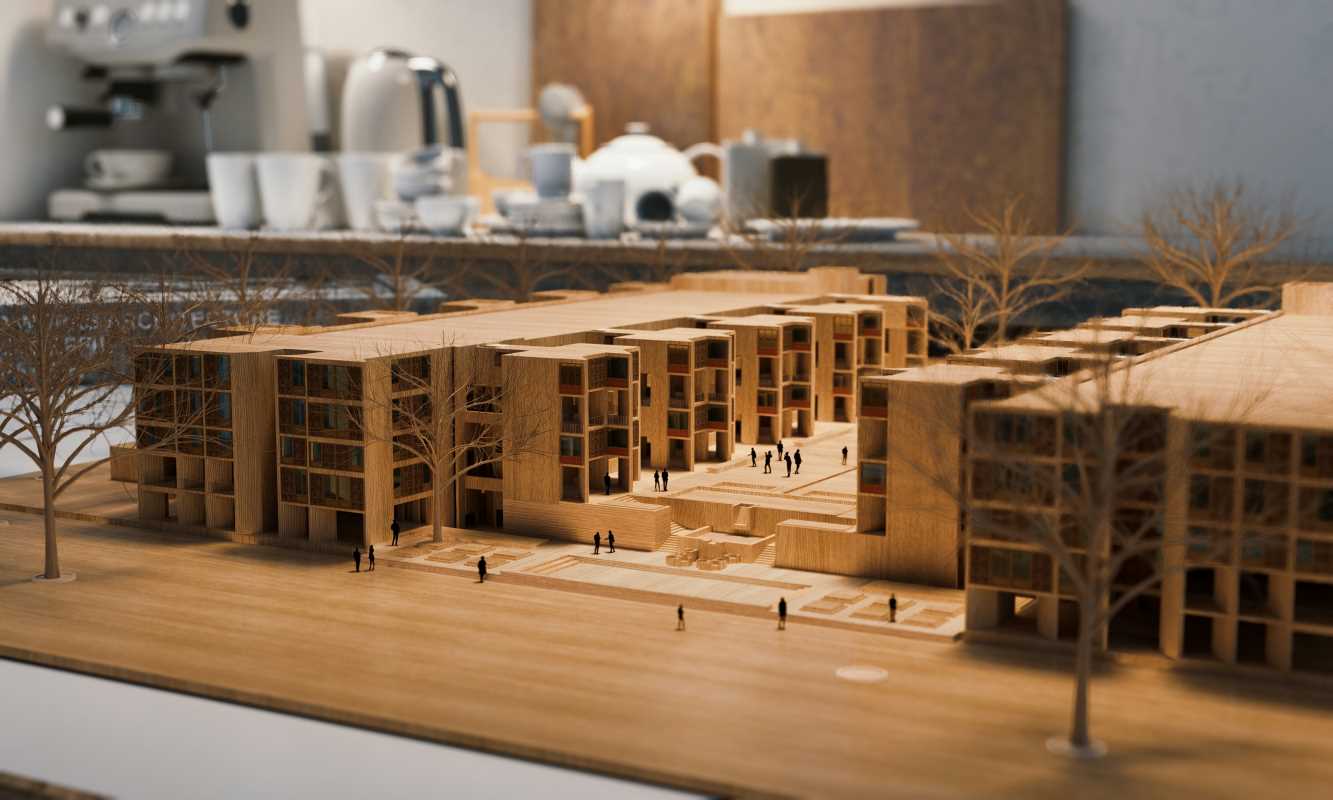
Careful observation of how sunlight dances over grassy fields or how an old barn door shows the passage of time lays the groundwork for a captivating miniature railroad layout. Focusing on the gentle changes in color, the variety of textures, and the beauty found in small flaws allows builders to turn ordinary model tracks and structures into scenes filled with life. When every detail encourages a closer look, each hour spent working on the layout pays off, drawing viewers into a scene where every corner suggests a new story and the world feels real beyond the tracks.
Creating Realistic Landscapes
- Design your landform contours with gradual slopes instead of flat expanses to mimic real topography. Carve foam layers into softly rolling hills and gently eroded valleys to avoid artificial-looking plateaus. These nuanced contours catch light and shadow in a way that flat surfaces can’t, making every switchback more convincing.
- Select earth tones with variations in hue rather than painting a uniform green. Blend a base layer of olive or raw sienna with dabs of muted yellow and dark brown to produce that lived-in look. Subtle highlights and lowlights create natural contrast where grass meets soil, conveying seasonal changes or weathered patches.
- Integrate small-scale vegetation clusters instead of evenly distributing foliage. Real landscapes group shrubs near rock outcroppings, line tree rows along watercourses, and leave gaps in fields. Thin or thicken ground foam tufts strategically to suggest wind-swept areas, footpaths, or animal trails, giving each section distinct character.
- Incorporate texture variation through ground cover layering. Start with coarse turf for undergrowth, sprinkle fine turf for grassy blades, and crown with static grass for height. This multi-tier approach replicates natural density shifts, ensuring that details don’t disappear when viewed from different angles.
- Emphasize the edges where scenery materials meet hard structures. Weather cement foundations or apply a dusting of powdered pigments to create a soft transition at dock edges, platform steps, or bridge abutments. These subtle connections turn jarring joins into coherent scenes that draw vision smoothly along the layout.
Practical Scenery Techniques
Applying hands-on methods allows you to build depth and personality into every corner of your miniature world. Small adjustments in technique can produce dramatic results when scaled down to layout size.
- Begin with a thin slurry of white glue mixed with water and a little paint, then brush it into crevices before adding ballast. This approach ensures grains settle naturally between ties and around track spikes, anchoring them in place and preventing unnatural gaps. It also adds a uniform tint that blends ballast with adjacent ground cover.
- Use a fine mist sprayer to blend wool fibers into wet glue for realistic grass tufts that stand upright. Vary nozzle pressure and height to simulate short meadow grass or longer field tufts, making the scenery look less uniform and inviting closer inspection.
- Dry-brush painted rocks and concrete surfaces with a nearly dry brush dipped in lighter acrylic paint. This technique highlights raised edges and surface details, breathing life into otherwise flat rock castings. A second, subtler pass with an even lighter shade can add additional complexity.
- Sculpt small erosion channels around culverts or drainage pipes using a hobby knife and filler putty. After carving shallow grooves, add powdered pigments to simulate sediment buildup. This step conveys weather and wear, implying water has shaped the land over time.
- Incorporate tiny ground debris—twigs, leaf fragments, bits of broken foliage—around fence lines or under trees. These irregular elements break up overly clean scenes, suggesting fallen leaves or branches have gathered naturally over seasons. It also encourages exploration, as viewers search for those small, realistic details.
Material Choices and Sourcing Tips
- Bachmann Scenic Cement
- Type: Adhesive/waterproofing blend
- Use: Bonds turf and ballast to foam or plaster bases
- Application Tips:
- Apply in thin coats to prevent pooling or flaking
- Thin with distilled water to improve flow into fine details
- Cost: ~$8 for an 8 oz bottle (hobby retailers)
- Sourcing Tip: Look for combo deals with turf products for cost savings
- Woodland Scenics Fine Turf
- Type: Multi-color flock blend
- Use: Creates realistic, shaded ground cover (grass, moss, etc.)
- Application Tips:
- Sprinkle using a fine-mesh shaker for even coverage
- Tamp gently with a stiff brush to blend and avoid clumps
- Cost: ~$4 per 3.5 oz bag
- Sourcing Tip: Buy assorted color packs for seamless blending across terrain zones
- Dremel 3000 Rotary Tool
- Type: Hobby-grade power carving and cutting tool
- Use: Ideal for carving foam, cutting wood, engraving rocks
- Application Tips:
- Use flexible shaft attachments for delicate detail work
- Avoid heavy pressure to prevent damaging larger sections
- Cost: ~$60 (available at hardware stores)
- Sourcing Tip: Purchase bundled kits with sanding and carving bits for better value
- Tamiya Weathering Master
- Type: Pigment stick set with compact palette
- Use: Adds realistic aging (earth, rust, soot) to structures and models
- Application Tips:
- Apply with soft brush using circular motion
- Seal lightly with matte spray to prevent pigment fallout
- Cost: ~$10 per trio pack (specialty hobby shops)
- Sourcing Tip: Watch for seasonal releases or limited editions for unique tones
- Milliput Standard Yellow Grey
- Type: Two-part epoxy putty
- Use: Sculpt rock faces, erosion features, or fill gaps in scenery
- Application Tips:
- Knead equal parts until color is uniform
- Sculpt within 10 minutes; carve/texturize before full cure for natural crevices
- Cost: ~$7 for two 56g sticks
- Sourcing Tip: Store unused portions in sealed bags to extend shelf life and prevent drying out
Advanced Weathering and Detailing
Once you lay down basic textures and scenery, weathering enhances your layout to make it feel aged and well-used. Small changes in surface color and fine debris patterns can suggest decades of use on a building or mile of track.
Layer powdered pigments in complementary tones to simulate dust, rust, and algae growth. Earthy browns on lower walls, faint green streaks near water sources, and light grey dust on horizontal surfaces all indicate environmental interaction. Use a soft brush to apply pigments in thin washes, building depth with each pass.
Next, focus on structural elements like corrugated metal roofs or wooden planks. Scrape fine micro-scratches with a hobby blade to suggest wear from foot traffic or weather exposure. Pair that with a light application of white or tan watercolor brushed across grain lines to simulate paint fading and surface cracks.
Connecting Terrain Creation to model train scenery
Incorporate techniques from fantasy map-making and tabletop gaming to enhance your model train terrain planning. Use thematic zones, travel routes, and color keys to turn layouts into immersive stories, not just static scenes. Blending creative storytelling with precise detailing brings your miniature world vividly to life.
 (Image via