Bringing your own tabletop adventure to life lets you blend meaningful stories, cherished themes, and creative mechanics into every session. Select concepts that spark excitement among your friends, such as legendary creatures, beloved childhood moments, or familiar places from your community. Guide each player through a world you’ve carefully crafted, offering them an experience that feels both unique and personal. Starting with a spark of inspiration, you can shape your ideas with practical creation tools, turning your vision into a fully realized game. Each decision you make adds another layer to an experience everyone will remember.
Imagine a game board featuring your hometown’s quirks or printed cards showcasing inside jokes. You will find that each creative decision deepens engagement and sparks genuine excitement around your table.
Designing a Unique Theme Playground
Focus on an unexpected angle: pick a single object, location, or memory that sparks strong visuals. Maybe it’s a childhood toy chest or a hidden alley from a summer trip. Visualize how its colors, textures, and stories could translate into tiles, tokens, or card art.
Sketch quick doodles to map out how a board might resemble a treasure map or a gallery of snapshots. By exploring contrasts—dark versus bright, simple shapes against intricate borders—you’ll discover fresh design paths that avoid clichés and feel entirely your own.
Within your sketchbook, annotate potential player actions tied to each visual element. A winding path could mean earning bonuses for detours, while scattered icons might unlock secret abilities. This implicit method reveals the theme’s importance through creative angles rather than listing bland benefits.
You might even embed an interactive element: a hidden code under a flip-up tile that nudges players toward discovery. That small surprise carries more weight than broad statements about enjoyment.
Combining Mood and Mechanics Smoothly
Creating mood often feels separate from designing rules—yet blending them unlocks memorable moments. If you choose a foggy forest scenario, let moving through “mist tiles” impose a resource cost or trigger randomized events tied to shadowy secrets.
Pair color palettes with actions: cool greens could denote regeneration spots where players draw extra cards, while warm reds mark danger zones with challenge checks. This implicit design shows the theme’s depth without dry claims about “immersive gameplay.”
To build these layers, draft a simple table: list each visual motif in one column and a matching rule in the next. Swap rules between motifs to see which combinations feel natural rather than forced.
Necessary Creation Steps and Tools
- Blueprint Drafting: Outline Core Spaces
- Purpose: Establish a clear spatial layout that defines player movement and interaction zones.
- Steps:
- Draw a rough grid marking start, finish, and special tiles.
- Label zones with functions like resource hub, danger field, or bonus checkpoint.
- Refine tile sizes based on standard board dimensions (commonly 8", 10", or 12").
- Availability/Cost: Free printable grid paper templates online or ~$5 for a pad of heavy cardstock.
- Insider Tip: Leave extra margin around the edges to allow space for frames or decorative borders.
- Card Creation: Define Actions and Lore
- Purpose: Convey in-game events and narrative through clear, engaging cards.
- Steps:
- List core actions—gather, trade, attack, explore—and assign icons to each.
- Write short descriptions (30–40 words max) for quick reference.
- Create prototypes using index cards; scan and adjust fonts for clarity.
- Availability/Cost: Index cards ($4/100), printable sticker sheets ($7).
- Insider Tip: Use colored borders to indicate rarity or difficulty so players can easily sort cards.
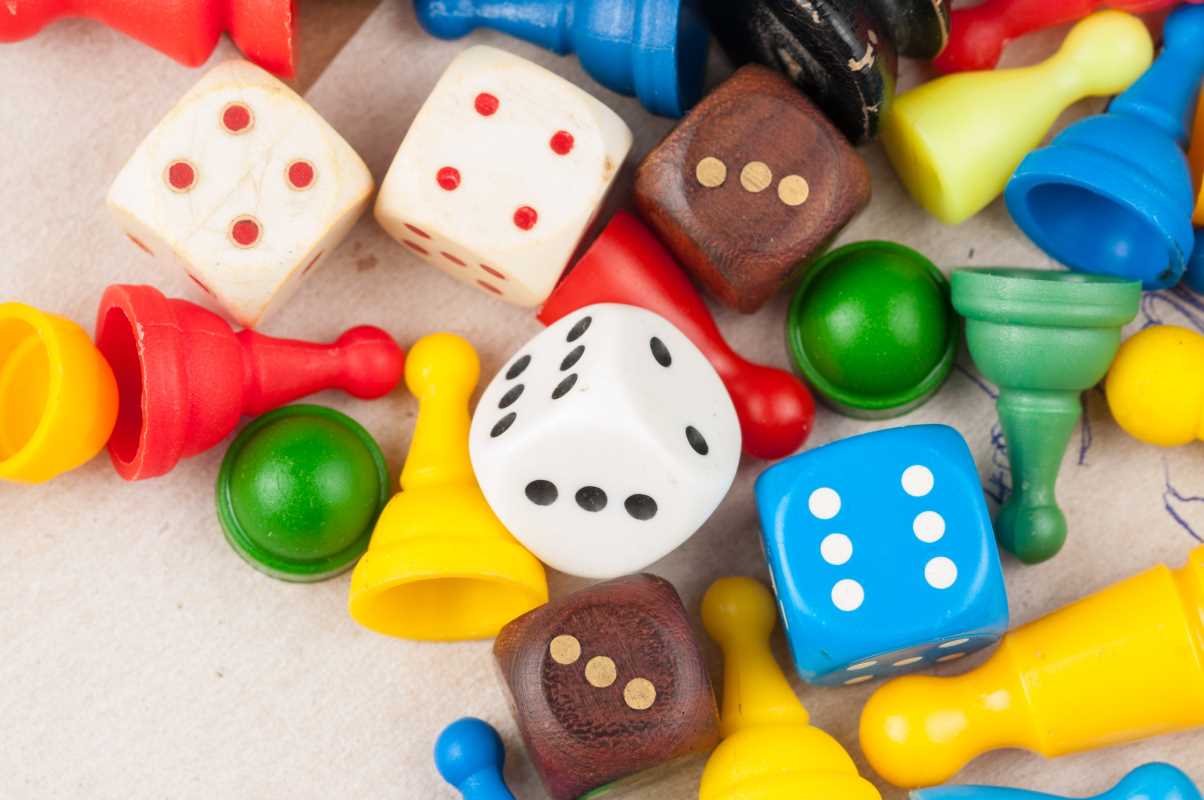
- Token Fabrication: Craft Interactive Markers
- Purpose: Provide tactile components to represent resources, status effects, or players.
- Steps:
- Select materials: wooden discs, plastic gems, or cardboard cutouts.
- Add symbols using paint pens or stickers.
- Apply clear varnish to increase durability.
- Availability/Cost: Wooden tokens ~$0.10 each, plastic gems ~$0.05 each.
- Insider Tip: Store tokens in labeled resealable bags to streamline setup and cleanup.
- Rulebook Assembly: Present Instructions Clearly
- Purpose: Help players understand gameplay, setup, and win conditions with ease.
- Steps:
- Structure content into clear sections: components, setup, turn order, rules, victory.
- Use numbered steps for each gameplay action.
- Include a quick-reference sheet for mid-game lookups.
- Availability/Cost: Use free desktop publishing tools; print for ~$0.20 per page.
- Insider Tip: Test the rules by asking someone unfamiliar to explain a turn—you’ll quickly identify confusing parts.
- Prototype Testing: Refine Through Play
- Purpose: Identify and fix balance issues, layout problems, and pacing concerns before finalizing the game.
- Steps:
- Conduct short play sessions with a variety of players.
- Observe pain points—slowdowns, confusion, or frustration.
- Tweak spacing, token counts, or card distribution as needed.
- Availability/Cost: Low-cost (mostly time); each session takes 30–45 minutes.
- Insider Tip: Use index cards to record player feedback during each round and group similar notes to reveal consistent issues.
Refining Artwork and Presentation
Refine your artwork by scanning sketches and adjusting contrast to make visuals pop while keeping text areas clear. Test print finishes like matte or gloss in small batches to enhance colors and avoid waste. With thoughtful design and hands-on testing, your custom game will offer a polished, memorable experience every time it's played.
.jpg)


