Old, overlooked items can become eye-catching pieces that spark conversation and bring new character into your home. You can create something unique using simple, everyday objects you already have, without hunting down expensive art materials. With a bit of creativity and a fresh perspective, your unused belongings find new purpose and charm. This hands-on approach lets you add personality to your space while enjoying the process of making something original. By reimagining what you already own, you give your surroundings a welcome update and discover new meaning in objects you might have otherwise discarded.
Grab items destined for the recycle bin and watch them transform into functional wall art, playful planters, or custom lighting accents. Keep your toolkit basic—scissors, glue, string, and paints open up endless possibilities. Let each piece reflect your personality as you delve into clever repurposing.
Creative New Ways to Reuse Everyday Items
- Challenge traditional roles by letting soda cans or cereal boxes serve as sculptural elements rather than disposable waste. This shift redefines common trash into raw material for personal expression, inviting you to rethink routine discard habits.
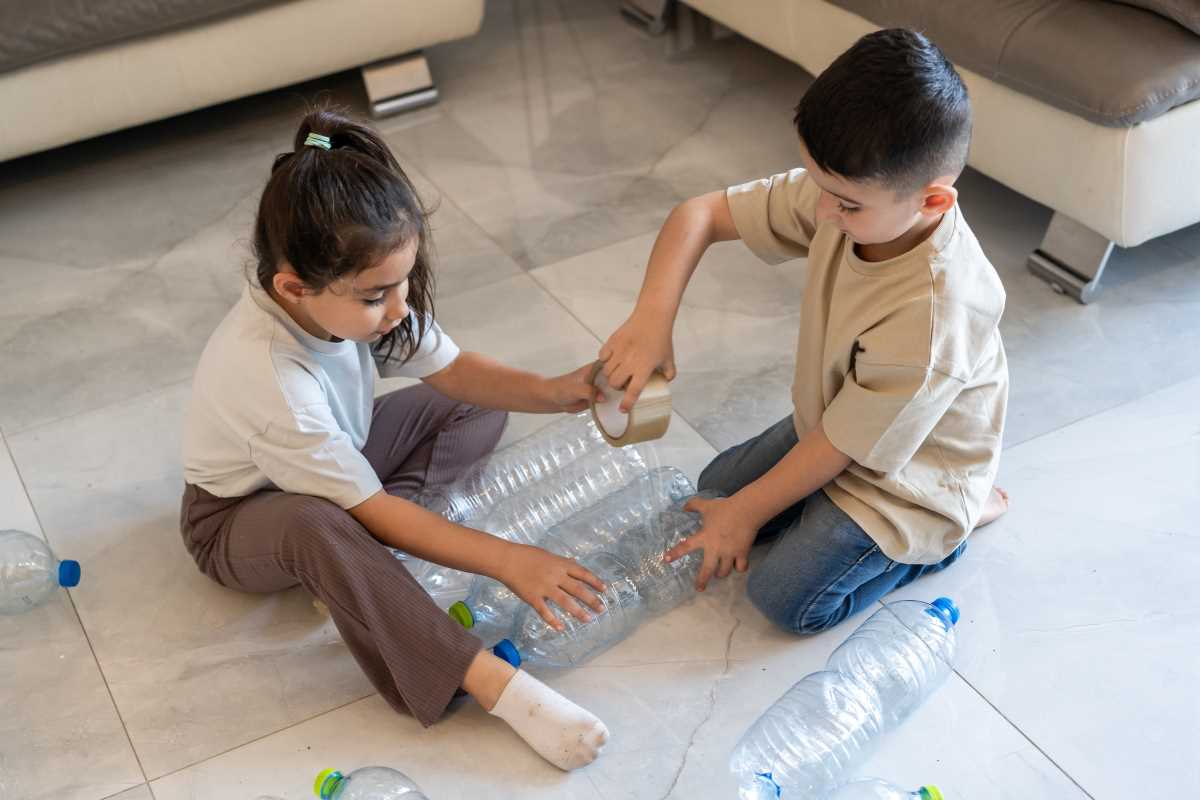
- Mix textures by pairing rigid plastics with soft textiles, like weaving old T-shirt strips through cut plastic bottle frames. That unexpected contrast creates dynamic tension and elevates simple shapes into engaging compositions.
- Incorporate illumination—tiny LED strips tucked inside translucent containers cast playful shadows. You’ll showcase your handiwork both day and night, adding a functional glow that doubles as mood lighting.
- Embrace asymmetry by allowing imperfect cuts, peeled labels, or rough edges to remain visible. These quirks become marks of authenticity, lending each creation a unique signature that speaks to your individual hand in the process.
6 Practical Upcycling Ideas
- Coca-Cola Bottle Planter (kitchen waste)
- What to Do:
- Cut a rinsed soda bottle at an angle.
- Drill drainage holes at the base.
- Fill with potting soil and plant herbs like basil or mint.
- Suspend with jute twine.
- Cost: Just pennies for potting mix and twine
- Insider Tip: Paint the bottle with chalkboard paint so you can label herbs directly on it.
- What to Do:
- Mix-CD Mosaic Mirror (old media)
- What to Do:
- Break obsolete CDs into reflective shards using pliers (wear gloves).
- Attach shards around a mirror frame using clear-drying adhesive.
- Seal with weather-resistant varnish for durability, especially in humid spaces.
- Insider Tip: Use small pieces in corners for a smooth finish and larger ones along straight edges to maximize sparkle.
- What to Do:
- Denim Pocket Organizer (worn jeans)
- What to Do:
- Cut and salvage intact back pockets.
- Stitch them onto a painted wooden board.
- Hang the board above your desk or workspace.
- Use fabric stiffener on the back to prevent sagging.
- Insider Tip: Line pockets with scraps of waterproof shower curtain to protect against ink or paint stains.
- What to Do:
- Jar Lid Photo Frames (jar lids)
- What to Do:
- Sand the edges of metal jar lids.
- Attach small printed photos using archival tape.
- Mount lids onto a painted plywood board in an artistic cluster.
- Hang using standard picture hardware.
- Insider Tip: Arrange lids by finish color (light to dark) to create a flowing gradient effect.
- What to Do:
- Wine Cork Pinboard (cork stoppers)
- What to Do:
- Glue corks side by side in a shallow tray or old frame.
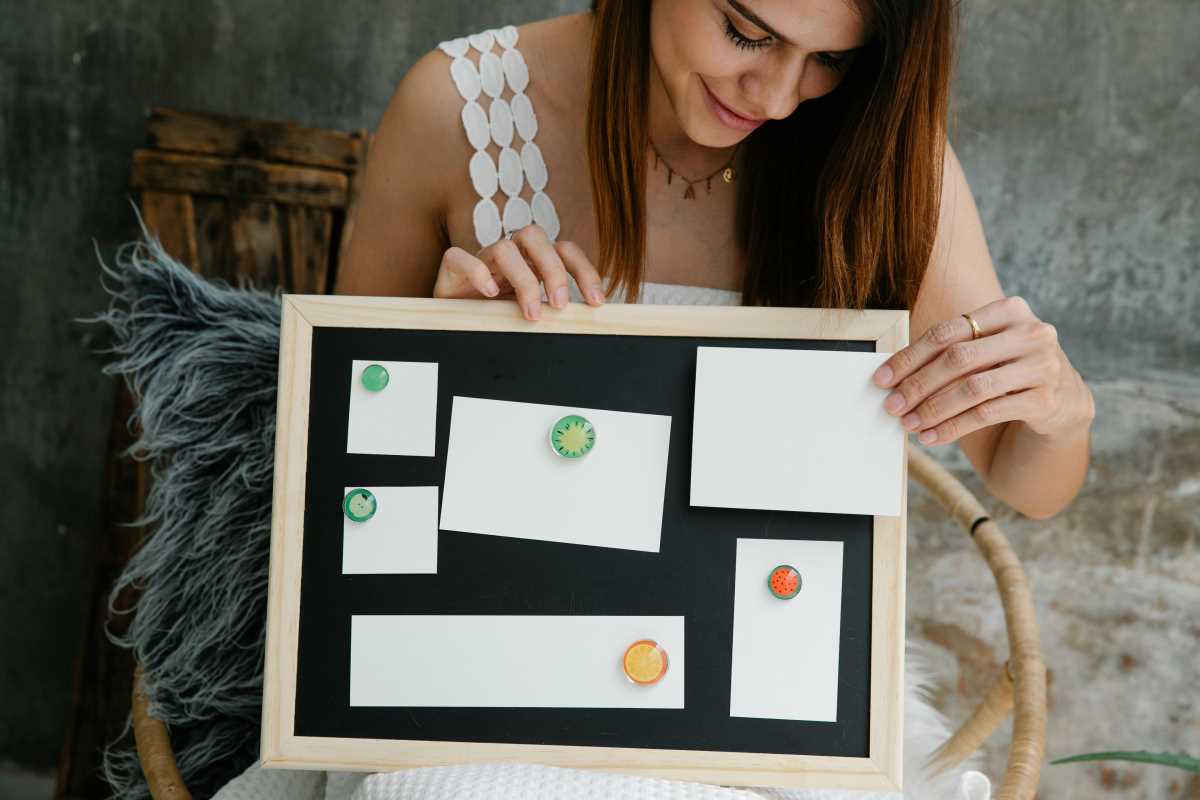
- Use as a pinboard for notes or reminders.
- Trim corks lengthwise for a clean edge fit against the frame.
- Insider Tip: Use extra corks vertically or diagonally to add a decorative twist to the pattern.
- What to Do:
- Balloon Mandala Lamp (balloons, yarn)
- What to Do:
- Inflate a small balloon to desired size.
- Wrap it with yarn dipped in a glue-water mix.
- Let dry fully, then pop and remove the balloon.
- Insert a low-heat LED bulb for ambient lighting.
- Insider Tip: Blend metallic threads into the yarn to create shimmery highlights when illuminated.
- What to Do:
Materials and Tools List
- Basic cutting tools: sharp scissors, utility knife, wire cutters for plastic and metal pieces.
- Adhesives: clear-drying craft glue, hot-melt gun with low-temp sticks, waterproof sealant spray.
- Paint options: chalkboard paint, metallic acrylics, spray primer to prep different surfaces.
- Fasteners: small screws, picture-hanging hooks, jute or cotton twine for hanging elements.
- Safety gear: protective gloves, dust mask, safety glasses when breaking or sanding materials.
Useful Tips for Lasting Results
Start by lightly sanding plastics or glass before painting or gluing. That microfiber-level roughness helps finishes bond well and prevents chipping or peeling later on.
Test adhesives on scrap pieces of your chosen material first. A small trial helps you choose the right glue for each surface—polymer-specific formulas work best for plastics, while PVA adhesives suit paper and fabric. Use trial and error to improve your process.
Upcycled art projects transform discarded items and inspire curiosity. Experiment with your own ideas and share your results to inspire others.
