Creating a costume for a furry companion brings out a sense of fun and invites creativity into your day. Sewing, decorating, and personalizing each piece allows you to highlight your pet’s unique character and style. This guide offers simple, engaging instructions that walk you through every stage of the process, from gathering materials to adding those finishing touches. With easy-to-follow steps and plenty of ideas for inspiration, you will find the confidence to craft an outfit that turns heads and sparks conversation at any event. Let each stitch tell a story and let your furry friend shine in their custom-made look.
When exploring pet costumes, the best designs come from unexpected sources of inspiration—shapes taken from abstract art, textures borrowed from kitchen utensils, or color stories inspired by sunsets. Embrace the thrill of discovery as you mine everyday surroundings for couture cues.
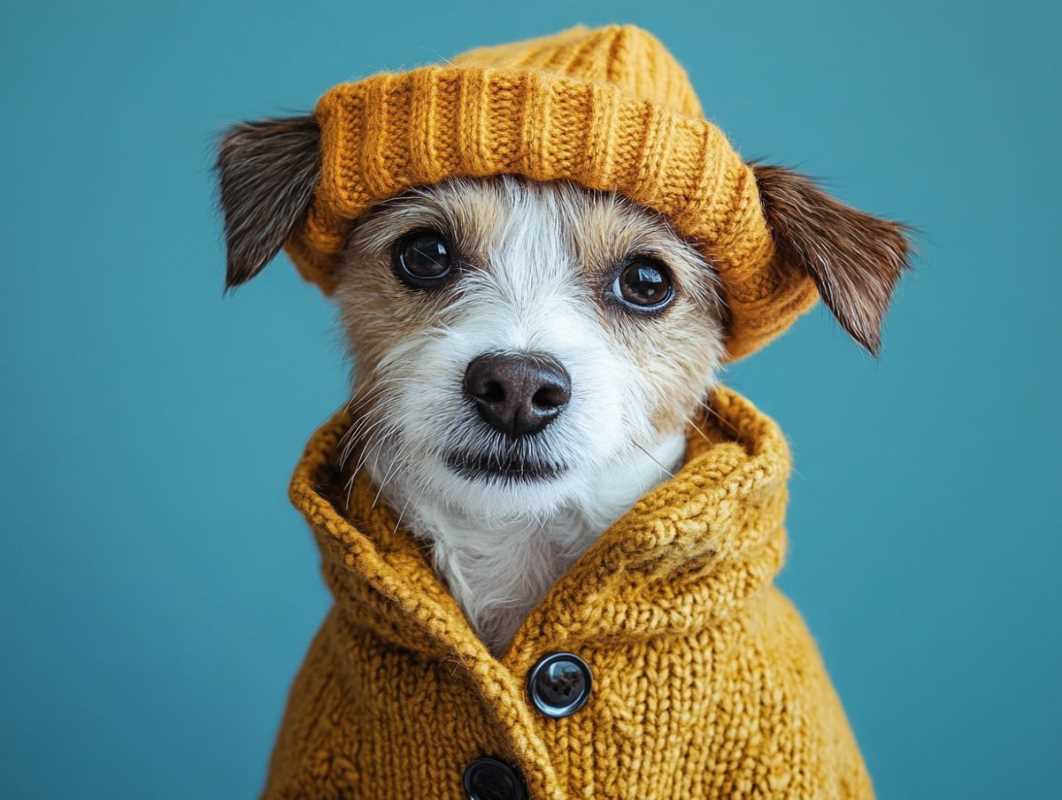
Unleashing Creative Sparks in Costume Design
Imagine a miniature headdress sculpted like a seashell, each ridge echoing waves frozen in time. That spark of curiosity comes from roadside architecture, vintage toys, or a century-old botanical illustration. Let those fragments collide in your mind and set the stage for a costume that looks fresh, vibrant, and utterly unexpected.
Tell a visual story by mixing scale and movement. Paint a tiny warrior’s shield on canvas, then pair it with a flowing cape cut from sheer kitchen cloth. Lean into the odd pairing—rigid meets fluid, industrial meets organic. You will delight in the sense of revelation when every element clicks together in playful harmony.
Essential Supplies and Tool Selection
- Foam Sheet Segments
- Purpose: Build lightweight, dimensional structures like headpieces or armor while minimizing strain on pets.
- Usage:
- Trace your pattern onto the foam with a washable marker.
- Cut along lines using curved scissors for smooth, safe edges.
- Heat foam gently with a hairdryer to bend and lock shapes.
- Glue pieces using non-toxic craft adhesive.
- Seal edges with a thin layer of acrylic paint.
- Cost: Around $5 for a 5-pack
- Insider Tip: Mark the foam’s grain direction before cutting to prevent tearing under stress.
- Breathable Stretch Mesh
- Purpose: Add texture and airflow under capes or costume wraps, ensuring comfort in warm weather.
- Usage:
- Measure your pet’s chest circumference.
- Cut a rectangle, leaving a 1-inch seam allowance on each side.
- Use a zigzag stitch to secure edges without limiting stretch.
- Attach snaps at corners for adjustable fit.
- Hand-dye using food-safe dye to customize color.
- Cost: About $8 per yard
- Insider Tip: Pre-wash mesh in gentle detergent to prevent shrinkage after first wear.
- Miniature Elastic Bands
- Purpose: Provide flexible joints for wings, sleeves, or movable panels, enabling natural movement.
- Usage:
- Cut 4-inch lengths of 1/8-inch elastic.
- Tie secure knots at both ends and trim excess.
- Sew into hem channels on both sides of the panel.
- Test tension by stretching gently four times before use.
- Tuck knots into small fabric tubes to avoid snagging.
- Cost: Under $3 for a 100-pack
- Insider Tip: Label each band by length using paper strips for quicker measurements during batch projects.
- Reusable Velcro Tape
- Purpose: Enable quick outfit changes without bulky buckles—ideal for impatient pets.
- Usage:
- Cut two 2-inch strips of hook and loop tape.
- Sew the loop side onto the fabric with straight stitches.
- Glue the hook side onto foam using strong fabric adhesive.
- Let the glue cure for 24 hours.
- Test the closure five times before first wear.
- Cost: $4 for a 5-foot roll
- Insider Tip: Keep hook sides away from mesh—mask nearby areas to avoid accidental snags.
- Water-Based Fabric Paint Pens
- Purpose: Decorate fabric with fine, controlled strokes without adding weight.
- Usage:
- Shake the pen for 60 seconds to activate.
- Prime nib by testing on scrap cloth.
- Apply patterns with light pressure, drying 10 minutes between colors.
- Heat-set with a low iron for three minutes.
- Wipe nib clean after use.
- Cost: $2–$3 per pen
- Insider Tip: Store pens upright and cap tightly to extend their lifespan.
Crafting Eye-Catching Details
Once you form your basic structure, focus on embellishments that grab attention and celebrate movement. Think about layering translucent petals along a back panel so each step reveals a cascade of color. Balance weight by alternating heavy trims with open mesh, creating a rhythm that moves gracefully with your pet.
Add small reflective accents—sequins, mirrored beads, or tiny metal studs—to catch light in darker settings. Arrange them in curved lines or spirals that guide viewers’ gaze along the costume’s silhouette. This lively play between shape and shine turns every turn into a moment of performance.
Overcoming Common Creation Challenges
Ease your pet into new costumes by introducing each piece gradually and rewarding curiosity with treats. Reinforce stress points with lightweight interfacing to prevent seam damage during movement. With patience and care, you'll create a comfortable, stylish outfit—and capture joyful memories along the way.
.jpg)


