 (Image via
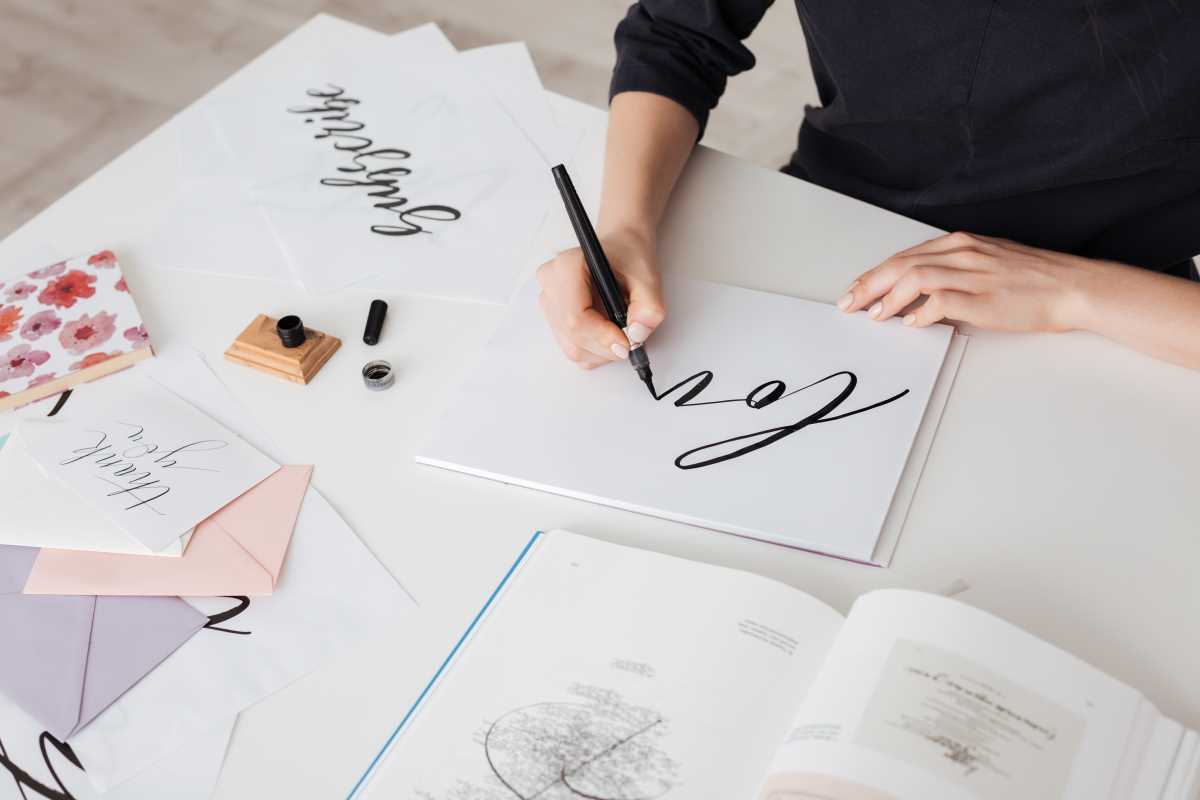
Sliding a new nib into place and dipping it into ink introduces a world of creative expression at your fingertips. Blank paper invites you to explore graceful lines and thoughtful designs, yet finding the right materials can make all the difference in your experience. Selecting tools that feel comfortable and reliable boosts your confidence as you start your journey. This introduction highlights the importance of choosing pens and inks that suit your style, ensuring your first steps feel both enjoyable and rewarding. Discover how the right supplies help you approach each project with a clear mind and genuine enthusiasm.
By giving yourself an approachable path—rather than wandering through racks of unfamiliar supplies—you start each practice session with purpose. You’ll learn how to match tool features to your style, setting the stage for bold strokes and graceful curves.
How to Discover the Art in Each Stroke
Every pen, nib, and ink drop shapes your lettering journey in surprising ways. You’ll find tools that match your hand’s natural motion, preventing fatigue and encouraging longer sessions of flow. This fresh perspective explores how subtle grip shapes or balanced weight guide your arm and wrist coordination toward fluid, confident letters.
Once you gather a set of calligraphy tools, you’ll notice how pairing a softer nib with flowing ink forces you to slow down, sharpening your attention to every curve. This process invites you to enjoy the tactile interaction between paper surface and metal tip, building a deeper connection with each stroke.
Important Attitudes for Flourishing Scripts
Approaching practice as an invitation to experiment frees you from perfectionism. Instead of aiming for flawless letters on day one, set mini-goals like mastering consistent pressure or refining your pen angle. This mindset shift turns mistakes into helpful signposts that show exactly where to focus next.
Welcoming challenges—such as controlling ink flow or spacing—makes each session feel like a playful puzzle rather than a chore. By treating struggles as creative prompts, you keep your enthusiasm high and build resilience, ensuring that every experiment with shape or texture teaches a tangible lesson.
Top Calligraphy Starter Tools Revealed
- Speedball C-Series Pen Nib Holder (Pen Holder)
- Features: Ergonomic design that reduces wrist tension during long lettering sessions
- Price: Around $5 at most art-supply outlets or online retailers
- Insider tip: Swap standard nibs for flexible-point nibs to practice both monoline and line-variation scripts without changing holders
- Hunt 101 Broad Edge Nib (Broad-Edge Nib)
- Features: Precision-cut tip that produces crisp thick-to-thin transitions in every downstroke
- Price: Typically priced near $2 each; available in multi-packs
- Insider tip: Clean the nib gently with a soft toothbrush and water to remove ink residue that can cause skips mid-letter
- Dr. Ph. Martin’s Bombay India Ink (Ink)
- Features: Waterproof, highly pigmented formula for both dip and brush pen use
- Price: About $10 for a small bottle
- Insider tip: Thin the ink slightly with distilled water when you need lighter grayscale tones for practice guides
- Micron PN Pen (Felt-Tip Pen)
- Features: Durable plastic barrel that withstands drops and constant pressure
- Price: Around $4 each; ships worldwide
- Insider tip: Store it horizontally to maintain even ink flow and prevent sudden blotches when you start writing
- Rhodia Dot Pad (Practice Pad)
- Features: Ultra-smooth, bleed-resistant paper with an unobtrusive dot grid that guides letter spacing
- Price: A5 size costs roughly $7
- Insider tip: Tear sheets from the top edge for a clean margin, then flip pages upside down to catch stray ink blobs before they ruin fresh work
How to Get the Most from Your Tools
- Create a setup routine: place your paper at a slight angle, secure it with a binder clip, and align your dominant shoulder above the midline of your desk. This posture encourages uninterrupted wrist movement without hunching.
- Practice controlled strokes: start each session with warm-up drills—straight lines, loops, and ovals—using your broad-edge nib. Count your strokes aloud to build muscle memory in both hands, then move to more ornamental shapes.
- Switch between tools to develop versatility: spend five minutes with your dip pen, then switch to the felt-tip PN. Changing tools challenges your brain to adapt grip pressure, refining your control and helping you identify your favorite instruments over time.
- Design custom practice sheets: draw slanted guidelines in pencil or print dot grids, then overlay with translucent tracing paper. You’ll conserve your premium paper while reinforcing uniform spacing and slant consistency in your letters.
- Maintain regular tool care: after each session, clean nibs in lukewarm water, dry them completely, and store them in a padded box. For felt-tip pens, recap them immediately to avoid dry-outs, ensuring each writing experience remains smooth and reliable.
With the right tools, you can express yourself and improve your lettering. Enjoy each practice session and see your skills grow with every carefully chosen implement.
.jpg)


