 (Image via
Turning a simple T-shirt or tote bag into a unique work of art can spark inspiration and add a touch of fun to your routine. You don't need an art studio or expensive equipment to achieve vivid, impressive prints that look just as good as store-bought designs. With a few basic supplies and some clever techniques, anyone can produce crisp, eye-catching patterns at home. Everyday items and some often-missed tricks can open up new possibilities for screen printing. By following clear, practical steps, you will discover just how easy and rewarding it is to create custom pieces with your own hands.
Discover Creativity Using Common Items
Imagine replacing industrial frames with household objects or switching high-end inks with pantry staples. This section shows how ordinary supplies can produce remarkable results, encouraging you to challenge assumptions about what you need. By viewing familiar materials differently, you’ll find affordable shortcuts and clever tricks that become signature touches in your printmaking process.
Instead of seeing your workspace as limited, view it as a canvas for improvisation. Reused picture frames, packing tape, and recycled transparency sheets all play key roles in a simplified printing process that remains consistent and dependable. Using these alternatives helps you improve techniques quickly while controlling costs.
Change Your Materials for Better Results
Traditional screens and photo emulsion appeal to many, but many makers reach equally impressive outcomes with items you already have. Swap expensive mesh rolls for a fine window screen or replace adhesive vinyl with freezer paper. These substitutes not only reduce costs but also encourage you to experiment more often without worrying about running out of special supplies.
Focus on accessibility: local craft stores, hardware stores, or dollar stores can supply your next essential item. When you buy locally, you avoid shipping delays and can assess material quality firsthand. This approach promotes experimentation and teaches you to adapt tools based on how they perform rather than brand reputation.
Home Screen Printing Practical Guide
- Build Your Own Screen
- Purpose: Create a budget-friendly, reusable mesh screen for printing.
- Steps:
- Cut an old window screen to fit your wooden frame.
- Stretch the mesh tightly and secure edges with strong duct tape.
- Check for wrinkles and adjust tension as needed.
- Cost: Under $10 using scrap wood and tape
- Tip: Mark the frame corners with colored pencils—this helps maintain even tension if you take the screen apart and reassemble it later.
- Make Your Stencils
- Purpose: Produce sharp, clean stencil designs without emulsions.
- Steps:
- Print or draw your design on freezer paper (shiny side down).
- Cut out the negative spaces using a sharp craft knife.
- Iron the stencil onto fabric or paper to adhere it fully.
- Cost: Just cents per sheet
- Tip: Snip the corners at 45° angles to reduce the risk of air bubbles during ironing.
- Mix and Adjust Ink Consistency
- Purpose: Achieve smooth, consistent ink flow for cleaner prints.
- Steps:
- Mix 1 cup of acrylic craft paint with ½ cup of textile medium (2:1 ratio).
- Stir thoroughly—use a whisk to eliminate lumps.
- Test on scrap fabric and thin with a few drops of water if needed.
- Cost: $3–$5 per paint tube
- Tip: Note your ideal viscosity for repeatable results—this saves time in future sessions.
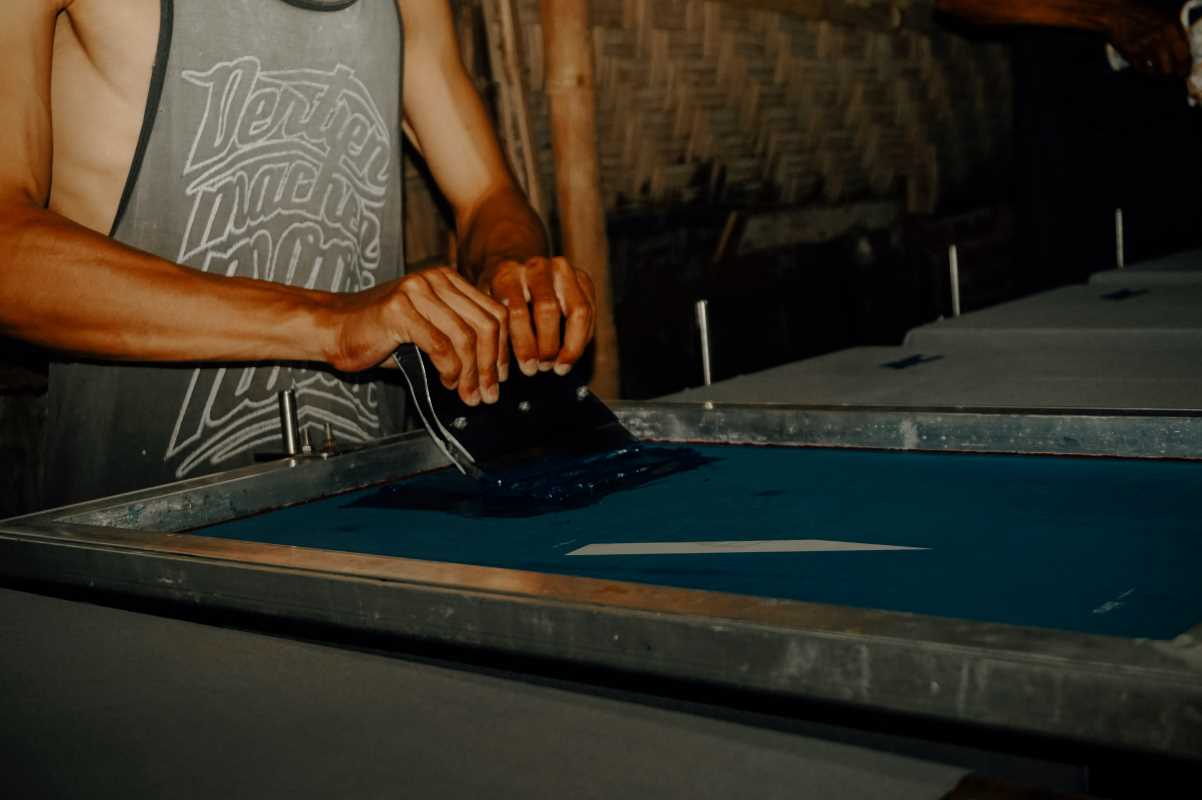
- Apply Ink with a Squeegee
- Purpose: Transfer ink cleanly and evenly through the mesh.
- Steps:
- Slightly tilt the frame on your work surface.
- Hold your squeegee at a 45° angle.
- Make three strong, even passes (top, middle, bottom).
- Cost: Under $8, or reuse a household window squeegee
- Tip: Lightly dampen the rubber edge with water to reduce drag, especially when using thicker ink blends.
- Dry and Set the Print
- Purpose: Make your print washable and long-lasting.
- Steps:
- Air dry the fabric for at least 24 hours.
- Place a sheet of plain paper over the design.
- Iron with a medium-hot setting for 2 minutes, moving constantly.
- Turn the fabric inside out and repeat to heat-set the back side.
- Cost: Free if you already have an iron
- Pro Tip: Heat-setting both sides helps ink bond to fibers and withstand regular washing.
When you want to explore advanced techniques, look at screen prints that draw inspiration from natural motifs and alternative materials. Trying botanical elements or layered patterns can elevate your homemade projects to gallery-quality pieces.
Controlling every stage—making frames, cutting stencils, mixing inks, handling squeegees, and heat-setting—builds your confidence in your home studio. Celebrate each successful ink pull and refine small details over time to develop a unique style that’s all your own.
DIY screen printing can be simple and affordable. Use these methods and instructions to create unique designs on fabric, paper, or nearly any surface.
.jpg)


