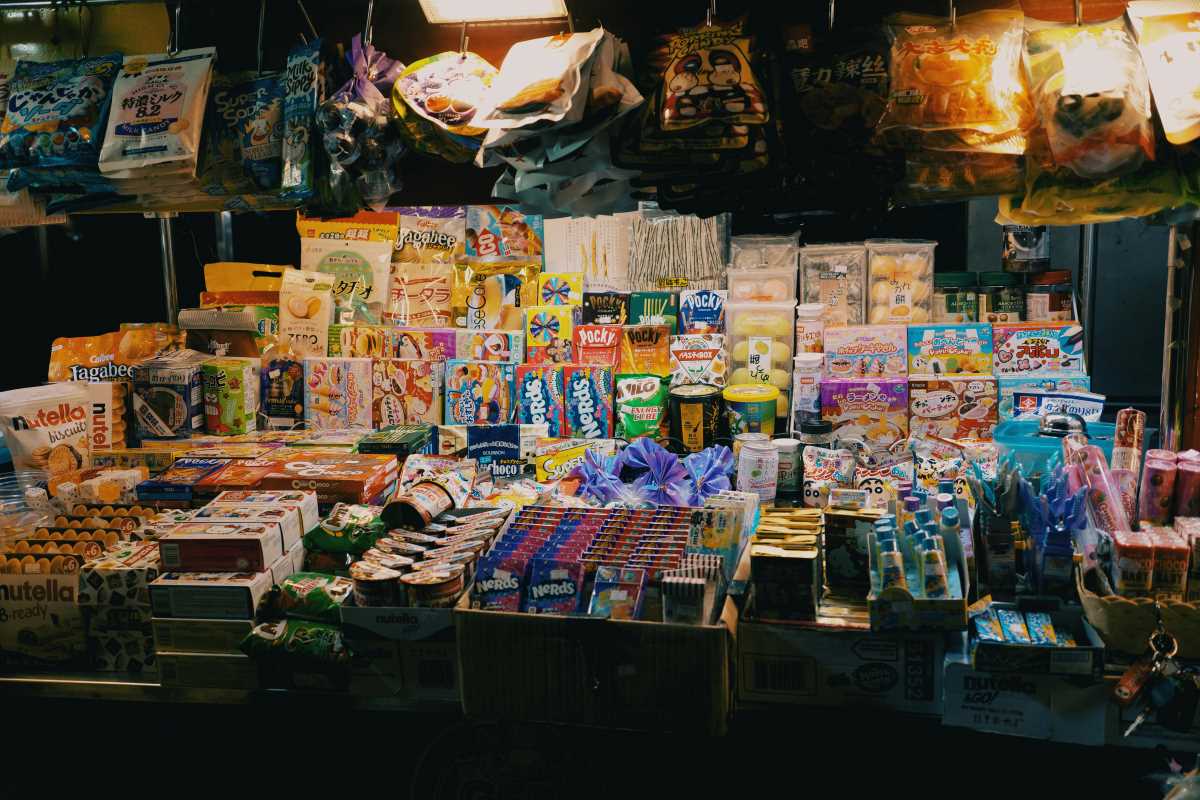
Bright colors, unique textures, and carefully shaped pieces can instantly turn your booth into a lively spot at any fair. Watch visitors as they weave through the event, noticing which displays make them pause or smile. Consider the details that give your work its signature charm—perhaps it’s the way light dances across a glazed bowl or the intricate pattern of a handwoven bracelet. Invite curiosity by letting people touch select samples or browse a small portfolio filled with your best work, displayed beside your price list. This interactive approach encourages relaxed conversation, helping you share the inspiration behind each piece and build memorable connections with those who stop by.
Creative Ideas for Showing Off Your Craftsmanship
- Show Material Transparency
- Place a small tray of raw supplies such as:
- Wood slices
- Fabric swatches
- Clay fragments
- Purpose: Let visitors see the journey from raw element to finished piece.
- Effect: Adds depth and curiosity without needing to explain “why this matters.”
- Place a small tray of raw supplies such as:
- Pair Products with Personal Stories
- Select one standout product.
- Attach a handwritten note sharing its inspiration, for example:
- An embroidery piece inspired by a nickname
- A metal pendant shaped by a memory from a hiking trail
- Benefit: Transforms a simple item into a meaningful keepsake.
- Use Ambient Lighting to Enhance Detail
- Set up with:
- Clip-on spotlights
- Battery-operated LED strips
- Goal: Highlight texture and color shifts throughout the day.
- Tip: Shifting angles create visual interest and uncover fine craftsmanship not visible under static lighting.
- Set up with:
- Offer Mini Workshops (Under 5 Minutes)
- Examples include:
- Knot-tying for macramé
- Simple bracelet clasp assembly
- Paint blending swatches
- Impact: Encourages hands-on interaction without pressuring a sale. Turns browsing into playful engagement.
- Examples include:
- Rotate a Feature Piece Regularly
- Place it on:
- A raised pedestal
- A vintage frame stand
- Rotate every hour to:
- Create dynamic focal points
- Encourage return visits and conversations
- Outcome: Sparks word-of-mouth buzz and keeps your booth fresh throughout the day.
- Place it on:
Practical Tips for Engaging Visitors at Your Event
- Creative Icebreaker with Beads
- Steps:
- Prepare trays of beads sorted by hue.
- Ask a prompt like: “Which hue matches your mood today?”
- Guide them to products that match their chosen color.
- Cost: Under $15 for bead kits
- Insider Tip: Keep a color-coded chart on hand for group demos during busy periods.
- Steps:
- Signature Scent Experience with Wood Samples
- Steps:
- Infuse small wood blocks with essential oils.
- Label each scent next to corresponding wooden keychains.
- Encourage visitors to test and pair their favorite scent.
- Cost: About $5 for a small oil dropper bottle
- Insider Tip: Reapply scent every two hours to maintain freshness.
- Steps:
- Quick Quiz for Personalized Product Match
- Steps:
- Print simple two-question personality quiz cards.
- Provide a pen and clipboard stand.
- Ask visitors to mark answers and reveal their recommended product style (e.g., minimalist, bohemian, eco-chic).
- Cost: Under $10 for printing 100 cards
- Insider Tip: Keep quiz results discreetly for follow-up emails if collecting visitor contacts.
- Steps:
- “Design and Swap” Activity for Families
- Steps:
- Set up basic button-making kits.
- Provide three simple design templates.
- Facilitate a swap between two children once their pieces are complete.
- Cost: Around $20 for 50 kits
- Insider Tip: Display framed photos of swapped designs on a small board to draw attention from passersby.
- Steps:
How to Set Up Your Booth in Simple Steps
- Divide Your Table into Zones
- Steps:
- Mark the highlight area.
- Place demo items at the center.
- Ensure the checkout area is accessible.
- Add clear signage.
- Cost: Budget-friendly pop-up tablecloths for around $25
- Insider Tip: Use velcro-backed labels to quickly reposition items between events.
- Steps:
- Build a Vertical Display Tower
- Steps:
- Unfold a collapsible grid stand.
- Clip together 8 grid panels.
- Attach hooks organized by item type.
- Adjust height to eye level.
- Drape a color-coordinated backdrop.
- Secure everything with zip ties.
- Cost: About $30 online
- Insider Tip: Label grid sections by material type to speed up restocking during the event.
- Steps:
- Set Up a Mobile Checkout Station
- Steps:
- Mount a tablet on a folding shelf with a stable stand.
- Load your sales app.
- Connect a small card reader.
- Tuck and secure cables neatly under the table.
- Cost: Approximately $70 for the stand and reader
- Insider Tip: Pre-charge battery packs and test internet connectivity before the event starts to ensure a smooth checkout experience.
- Steps:
- Create a Take-Home Corner
- Steps:
- Design branded postcards featuring your logo.
- Print 100 on recycled cardstock (~$20).
- Bundle three small samples into organza bags.
- Label each bag with a tiny discount code.
- Insider Tip: Use these bundles to drive online traffic and increase post-event engagement.
- Steps:
Effective Ways to Boost Sales with Your Presentation
Link pricing to perceived value by explaining costs simply: “This hand-painted ceramic mug takes three hours of kiln time and uses two premium glazes.” That provides transparency without jargon. Add a gentle call to action like “Feel its weight to see the difference” to encourage touching.
Create urgency around limited editions—highlight a small batch of autumn-themed earrings and note they are made in quantities under 20. Mentioning this timeline without generic countdown phrases pushes undecided browsers toward a decision.
Combine social proof with follow-up actions by setting up a quick photo station where buyers take selfies with their purchases and share on social media tagged to your handle. Include a gentle prompt: “Show us your favorite piece.” This encourages community engagement beyond the event itself.
In-Depth Guide for Your Craft Booth
- Color-Coded Inventory System
- Steps:
- Assign each product category a unique tag color (e.g., jewelry, textiles, ceramics, mixed media).
- Attach tags to display hooks for easy identification.
- Store backup tags in a labeled pouch behind the booth.
- Cost: Approximately $8 for 100 tags (available online or at office supply stores)
- Insider Tip: Use waterproof sleeves to protect tags from spills or sweat during long events.
- Steps:
- QR Code for Digital Price Catalog
- Steps:
- Generate a free QR code linked to a mobile-friendly catalog.
- Print and laminate it on card stock.
- Display it on a mini easel next to the checkout area.
- Test the code on at least two phone models.
- Cost: Under $5 for printing
- Insider Tip: Add a teaser like “Scan for secret bundle offers” to encourage interaction.
- Steps:
- Modular Stacking Cases for Ceramics
- Steps:
- Choose foam-lined trays sized to match your table setup.
- Number trays in sequence for organized unpacking.
- Use trays directly as display elements during setup.
- Cost: Around $40 for a set of three
- Insider Tip: Place small sticky labels inside trays to jot down restock notes during busy moments.
- Steps:
- Rechargeable LED Puck Lights for Lighting
- Steps:
- Mount lights under the table lip using lightweight aluminum clips.
- Attach lights magnetically and route cables neatly under your tablecloth.
- Charge lights overnight with a multi-port USB hub.
- Cost: About $35 total
- Insider Tip: Rotate lights between front and back zones every two hours to refresh the visual focus.
- Steps:
- Adjustable Price Cards with Colored Overlays
- Steps:
- Insert price cards into clear plastic sleeves.
- Use colored overlays to indicate pricing tiers:
- Red = 10% off
- Yellow = 5% off
- Green = full price
- Change overlays as needed: remove, slide on new, realign price text.
- Cost: Around $12 for 10 filter sheets
- Insider Tip: Keep overlays near the checkout and train an assistant to swap them quickly during peak hours.
- Steps:
Combining craft market techniques turns a simple booth into an engaging, memorable experience. Focus on lighting, inventory flow, and personalized touches to build genuine interest. Take these steps to local events and connect your passion to real success.
 (Image via


