Stepping up to the microphone starts with recognizing the qualities that set your voice apart from others. You can create powerful performances without the need for a professional studio; all it takes is a clear understanding of your vocal strengths, a commitment to regular practice, and the courage to express your personality. When you pay attention to the little details—like the way you phrase a sentence or the genuine emotion behind your words—you naturally draw listeners in and leave a lasting impression. Building a reputation as a memorable performer grows from these small, authentic moments that connect you with your audience.
Express Your Unique Storytelling through Tone
Your vocal identity forms the foundation of every project. By listening to the rhythms of speech you already use in casual conversation, you can enhance qualities that resonate with different audiences. Notice how you vary pitch when you tell a funny anecdote or soften your pace to express sincere emotion. These traits become signature tools you can shape for narration or character work.
Try gentle exaggerations: record yourself reading a paragraph in three styles—upbeat instructional, conversational narrator, and dramatic storyteller. Compare these takes to find out which one brings out your natural charisma without forcing delivery. This process reveals subtle nuances you can emphasize in auditions and self-marketing demos.
Gather feedback from peer listening sessions to refine your range. Invite friends to note moments that feel most genuine or captivating. Use those observations to craft a concise voice reel showcasing two to three samples under a minute. This reel will highlight your authentic appeal and position you as a sought-after voiceover freelancer in genres ranging from corporate training to indie animations.
Build Authentic Connection with Listeners
Establishing rapport through a microphone requires intentional vocal choices. Approach every script with curiosity: ask what emotion or image you want listeners to carry away. Whether you aim for a comforting tone in an e-learning module or an energetic push in an advertising spot, choosing the right vocal warmth and pacing will anchor your message in the audience’s mind.
Create a short list of “emotional cues” for each project: confidence, empathy, excitement, calm. Before starting to record, speak a phrase aligned with the primary cue to get into character. For instance, saying “I’ve got this” firmly before tackling a powerful narration helps you inhabit a sense of assurance. Those little pre-session rituals set up consistent performances.
Welcome diverse feedback loops by joining online critique groups where peers share honest observations. This practice encourages you to adjust emphasis and tone to better fit various contexts. Over time, you’ll build a toolkit of vocal colors that connect instinctively with listeners, making you the go-to voiceover freelancer clients trust to bring scripts vividly to life.
Prepare Effectively for Recording Sessions
- Cold-Read Warmup Exercise: Improve clarity and confidence by practicing sight-reading unfamiliar paragraphs.
- Step 1: Choose a short technical or conversational script from any online source.
- Step 2: Read it aloud at a moderate pace while recording.
- Step 3: Listen back and note sections where enunciation falters.
- Cost: Free, takes five minutes per session.
- Insider tip: Mark troublesome words on your script and highlight them in bright colors so they stand out on your next run-through.
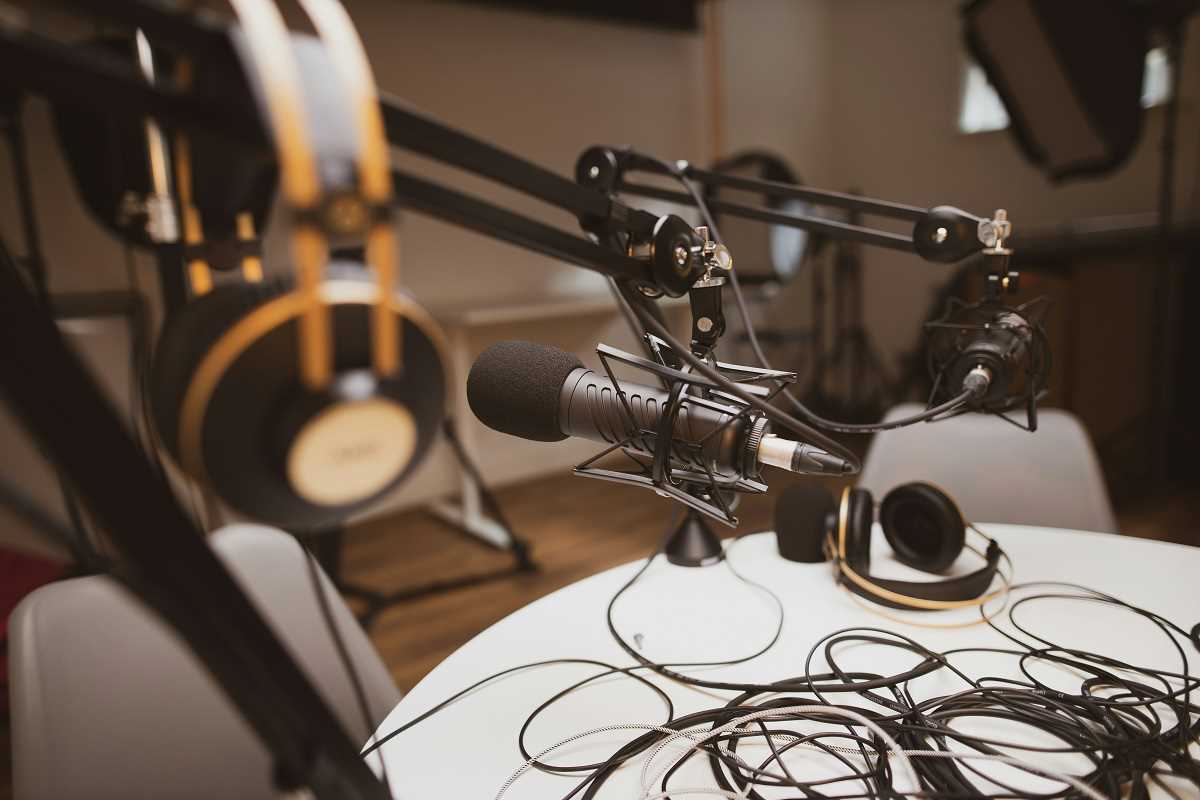
- DIY Acoustic Treatment: Reduce room reflections using materials you already own.
- Step 1: Identify hard, reflective surfaces in your recording space.
- Step 2: Hang thick blankets or move bookshelves closer to walls.
- Step 3: Place a thick rug under your chair to absorb floor echoes.
- Impact: Can cut ambient noise by up to 30% using budget-friendly items.
- Insider tip: Place a dense pillow behind your microphone to create an improvised reflection filter for under $20.
- Consistent Recording Template: Standardize file naming and session settings to make post-processing easier.
- Step 1: Create a naming convention like “ProjectName_ClientDate_Take01.”
- Step 2: Save template files in your audio software with predefined input levels and track layouts.
- Step 3: Use the template for every new session.
- Benefit: Saves editing time and ensures consistent quality.
- Insider tip: Include a silent track marker at the start of each file to calibrate noise reduction tools more efficiently.
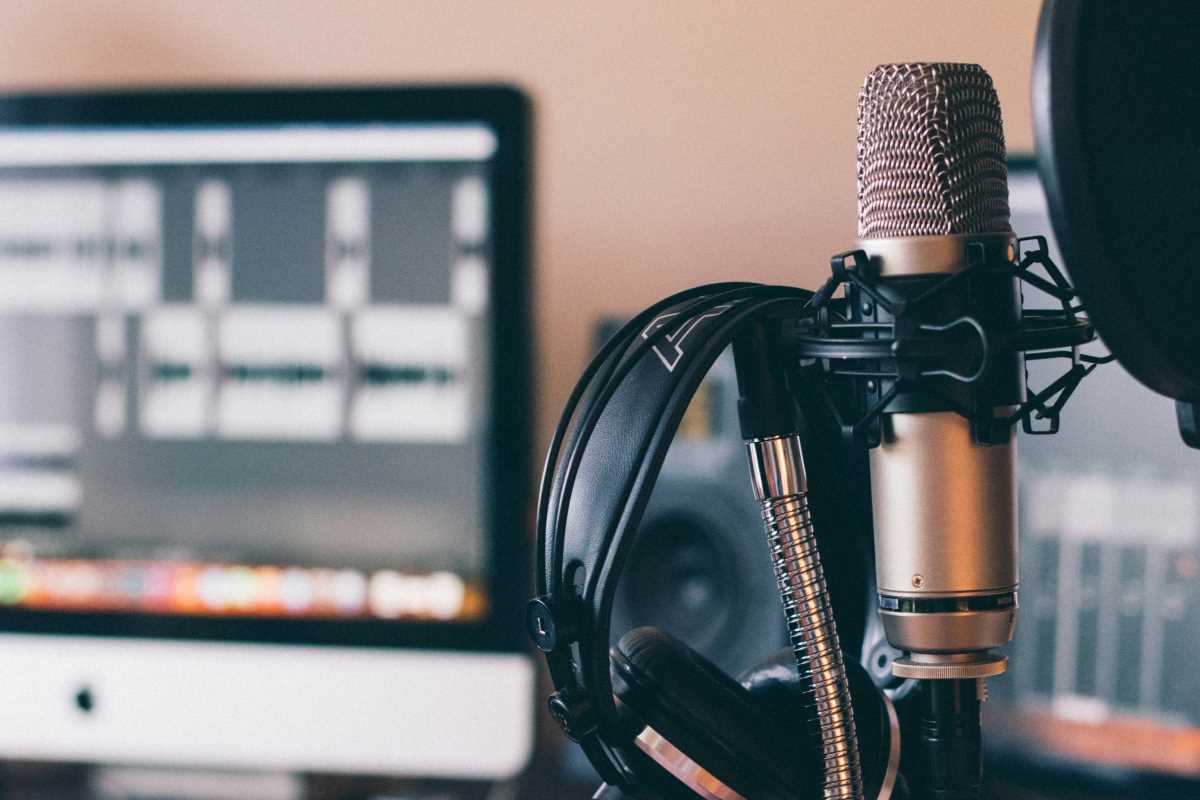
- Microphone Placement Drill: Optimize proximity effect without distortions.
- Step 1: Tape a ruler next to your mic stand.
- Step 2: Record sample phrases at distances of 2, 4, and 6 inches.
- Step 3: Compare results for warmth versus muddiness.
- Time: Under 10 minutes.
- Insider tip: Once you find the ideal distance, mark it with a small piece of colored tape so you’ll hit it automatically every time.
- Vocal Health Routine: Sustain peak performance by caring for your instrument.
- Step 1: Hydrate with room-temperature water throughout the day.
- Step 2: Perform gentle lip trills and tongue stretches before sessions.
- Step 3: Avoid dairy or heavily acidic foods two hours before recording.
- Benefit: Reduces throat irritation and ensures vocal clarity.
- Insider tip: Keep a small spray bottle of warm saltwater by your desk for quick gargles if dryness creeps in.
Pairing self-awareness with regular practice helps your voiceover career grow. Refine your tone, establish solid recording habits, and let your voice create lasting impact.
 (Image via


