 (Image via
Visitors to a makerspace often find themselves surrounded by possibilities as they take on custom 3D modeling projects. Armed with rough sketches and a sense of curiosity, they look forward to turning their ideas into real, physical objects. Every stage of the process brings fresh challenges, requiring careful thought and hands-on experimentation. Rather than simply following instructions or watching tutorials, creators in this environment experience the satisfaction of building something unique from the ground up. This hands-on approach not only sharpens technical skills but also encourages innovative thinking and true craftsmanship, making each project a rewarding adventure.
Just when you think you’ve seen every angle of model preparation, fresh perspectives emerge—transforming routine builds into unexpected avenues of discovery.
New Insights on Custom 3D Modeling
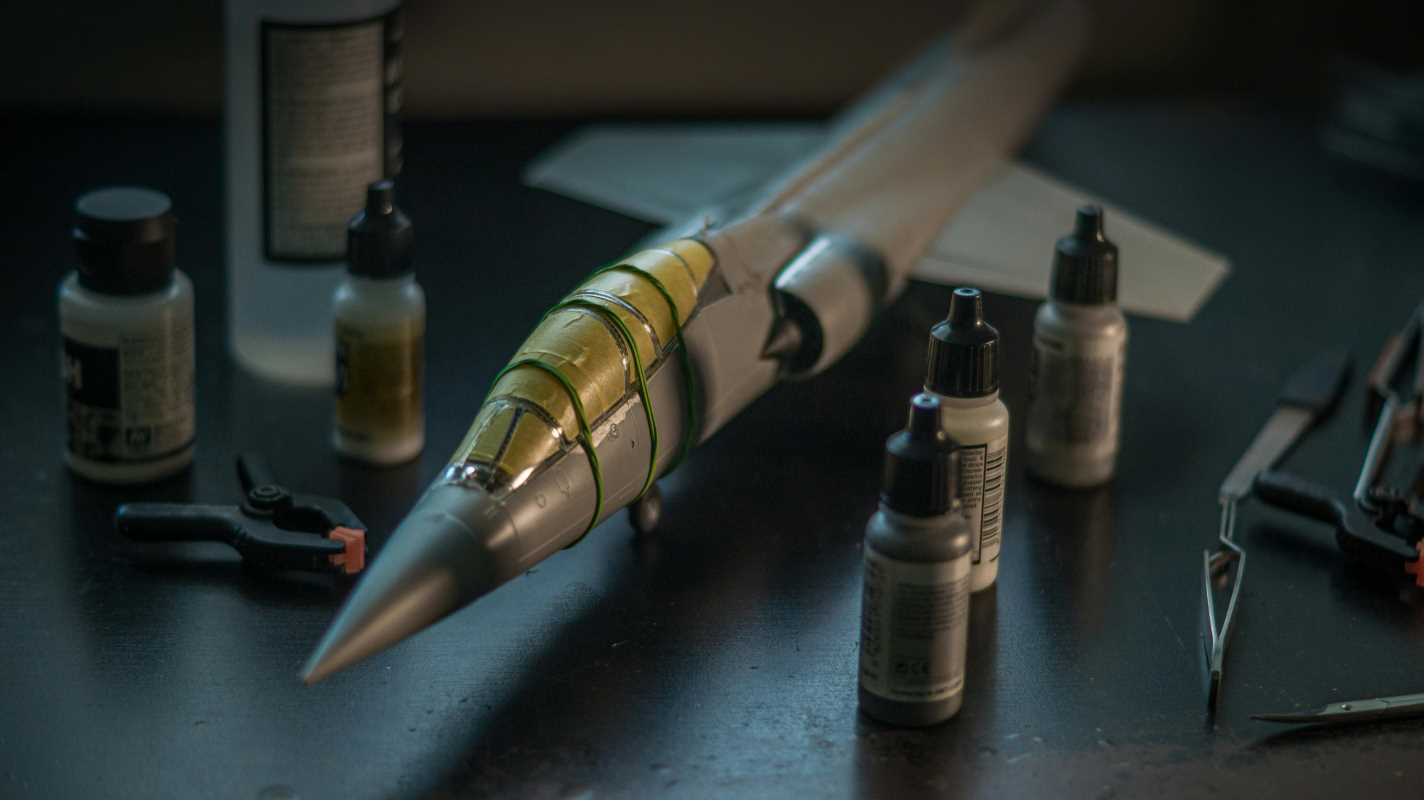
3D modeling can feel routine, but changing your viewpoint breathes new life into each build. Consider designs as kinetic sculptures instead of static objects to explore new possibilities for articulation and interactive elements. What if hinged joints become mechanical art pieces? Think about how weight distribution influences strength rather than just aesthetic balance. Each filament choice also affects surface tension and finish, turning a lampshade into a subtle light diffuser instead of a simple shell. Adopt this mindset and you’ll find every piece holds hidden potential for movement, texture, or layered color.
Embedding unexpected materials—like thin metal sheets inside PLA shells—creates composite parts that combine flexibility with rigidity. Mixing soft and hard surfaces allows you to prototype parts that mimic living textures, perfect for cosplay or artisan home decor. Every new combination changes your understanding of both material science and artistic expression.
Practical Approaches for Precision
- Blender (software, initial release 1995)
- Excels at detailed mesh sculpting.
- Supports Python scripting to automate repetitive tasks.
- Open-source and constantly improved by the community.
- Insider tip: Create custom add-ons for frequently used modifiers to save time on recurring shape builds.
- Fusion 360 (CAD/CAM, cloud-based since 2013)
- Offers parametric modeling with automatic updates for related features.
- Ideal for mechanical designs requiring tolerance checks.
- Free for personal use, with upgrade options for commercial licenses.
- Insider tip: Use built-in simulation to identify stress points before printing, reducing failed trials.
- Tinkercad (web app, launched 2011)
- Drag-and-drop primitives simplify geometry mashups.
- Runs in a browser—no installation needed.
- Exports .stl files, bridging sketches to prints.
- Insider tip: Collaborate on shared projects to crowdsource patterns and merge them into cohesive shells.
- SketchUp (modeling, first released 2000)
- Push-pull tools streamline volume creation.
- Intuitive UI is beginner-friendly for architectural shapes.
- Free web version covers basic builds; Pro unlocks advanced formats.
- Insider tip: Import models into VR viewers to test scale before printing.
- SolidWorks (CAD, commercial since 1995)
- Used in professional environments for assemblies and motion simulations.
- Parametric features maintain part alignment under constraints.
- Licensing is costly, but student and startup discounts are available.
- Insider tip: Write macros to batch-generate support structures optimized for your preferred printers.
Tools and Materials Checklist
- Select filament types carefully: compare PLA blends, PETG for flexibility, and nylon for durability; keep a small sampler pack to test surface finish and adherence on different print beds.
- Ensure bed leveling accuracy by using a digital probe or paper-test method; inconsistent bed height causes first-layer failures and wasted spool time.
- Use a calibrated caliper to verify dimension accuracy on printed parts; this tool prevents fitment issues when assembling multiple components.
- Stock up on lubricant sprays and sanding pads to streamline post-processing; fine grit paper and polishing compounds help turn rough prints into glossy, gallery-ready pieces.
- Keep replacement nozzles in multiple diameters (0.2 mm, 0.4 mm, 0.6 mm) to swap quickly between ultra-fine details and rapid, large-fill runs.
Overcoming Design Challenges
Tackle design issues by using honeycomb infill to reduce warping and stress, and add snap-off supports for cleaner bridging. For strong, aligned joints, try tapered pin-and-socket designs and test scaled prototypes to refine fit and movement. These techniques help turn complex concepts into reliable, well-crafted results.