 (Image via
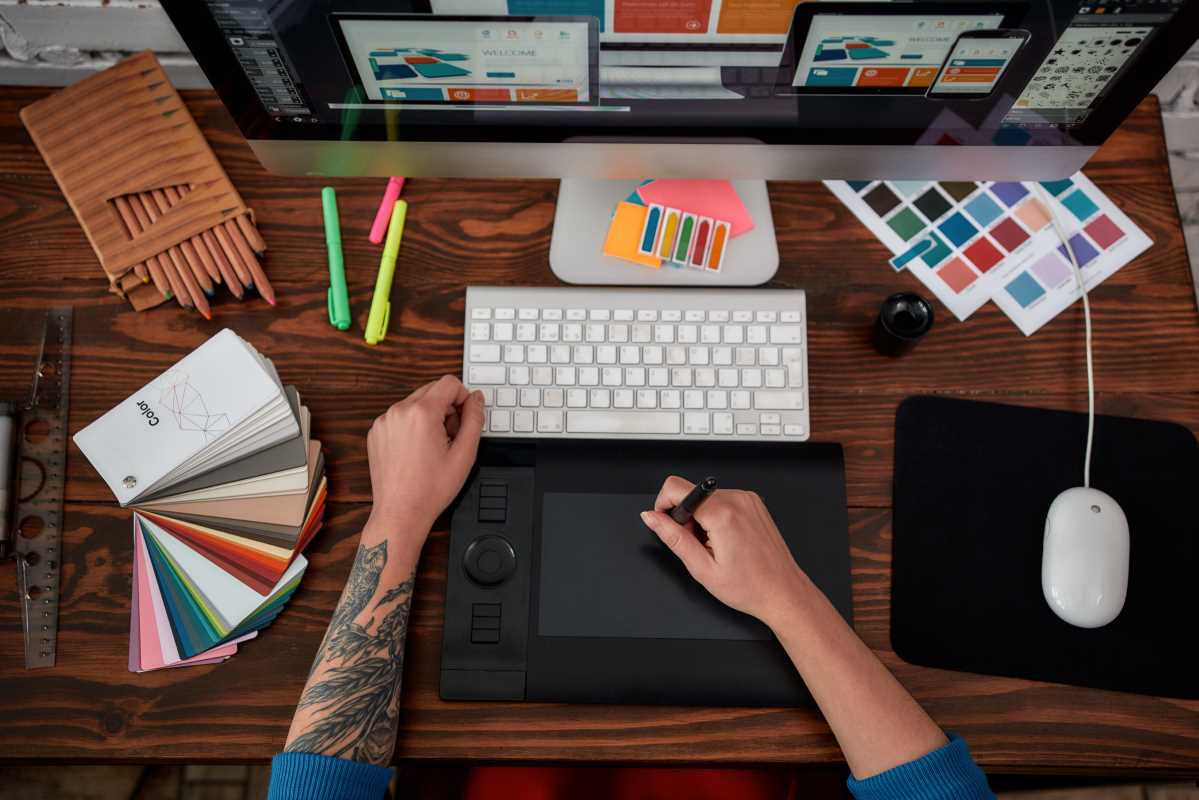
Artists can turn a simple tablet into a powerful drawing companion with just a stylus and a budget-friendly art app. Creating detailed sketches, inking crisp lines, and adding colorful touches becomes easy when using these accessible tools. Anyone can enjoy the process without investing in expensive equipment or getting lost in complicated software options. This guide explains each stage clearly, helping you keep your attention on the fun parts of drawing instead of getting stuck in unfamiliar menus or settings. Let your ideas flow and bring your illustrations to life with guidance that keeps things simple and enjoyable.
You’ll find clear setup instructions, practical stroke techniques, and clever fixes for common hiccups. By the end, you’ll feel confident tackling your next project with energy and purpose.
Equipment and Software Setup
Start by selecting a tablet that feels comfortable in your hand. Many hobby artists find mid-range models suitable—they offer pressure sensitivity and tilt recognition without a steep price tag. Pair it with a stylus designed to minimize lag for snappy strokes.
Next, install an art program. Free choices like Krita and GIMP deliver robust brushes, layers, and color tools. If you prefer a streamlined interface, try a low-cost option such as Sketchbook. Adjust brush pressure and shortcut keys so your most-used tools sit at your fingertips.
Basic Tablet Illustration Techniques
Before diving into a full drawing, warm up with some exercises. Practice quick straight lines, smooth curves, and varying pressure to get a feel for your stylus. These drills build muscle memory and help you gauge the tablet’s response.
Once you feel comfortable, move on to simple shapes and shading. Mastering these basics gives you a foundation for more complex compositions.
- Set up customizable brushes: Create or tweak brushes for pencils, inks, and textures.
- Test pressure settings: Draw lines at light, medium, and heavy strokes to see how your program interprets pressure.
- Use a basic color palette: Limit yourself to five to ten hues for a unified look and easier mixing.
- Leverage symmetry tools: Mirror your strokes for balanced shapes, like faces or floral patterns.
- Toggle grid or guides: Keep proportions in check by turning on guides or a simple grid overlay.
Create Your First Digital Illustration
Choose a reference photo or simple idea to guide your composition. Begin with a rough sketch on a separate layer, using broken lines and light strokes. Focus on proportions and placement rather than details.
Once your sketch looks balanced, lower its opacity and add a new layer for clean linework. Use a smooth ink brush to trace over the sketch, varying line width to add visual interest. Thicker lines can anchor the design, while thinner strokes suggest finer details.
After inking, create layers for color blocks. Fill in base colors under the line layer, snapping to edges with selection tools or a magic wand. Then, add shading and highlights on layers above, experimenting with blending modes like Multiply and Screen to achieve depth.
Advanced Tips and Tricks
To add realism, experiment with custom texture brushes. Scan or photograph fabrics, papers, or natural surfaces and convert them into brush presets. Stamp these textures lightly over areas like skin or clothing for a handcrafted feel.
Combine clipping masks and gradient maps to unify the color scheme. Clip a gradient map layer to your artwork group and adjust its opacity to shift the entire piece toward a coherent mood. This trick saves time and elevates the color harmony.
Troubleshooting Common Tablet Illustration Challenges
Even seasoned creators hit snags. Here’s a quick guide to solve the most frequent frustrations.
- Laggy strokes: Close background programs, update your tablet driver, and lower brush smoothing to speed up response.
- Wobbly lines: Turn on stabilizer or line smoothing features in your art program. Practice slow, deliberate strokes to train steadiness.
- Color banding: Switch to higher bit-depth settings (16-bit where possible) to capture smooth gradients. Apply subtle noise to break up harsh transitions.
- Layer bloat: Organize layers into folders labeled “Sketch,” “Inks,” “Base Colors,” and “Shading.” Periodically merge layers that no longer need independent adjustment.
- Stuck shortcut keys: If your favorite hotkeys stop working, check for software updates or reset preferences. Reassign shortcuts in a fresh profile if needed.
Next Steps for Ongoing Improvement
Maintain a daily or weekly sketch routine. Short timed sketches of different subjects—portraits, still lifes, landscapes—challenge your speed and adaptability. Log your favorite sketches in a digital portfolio so you can revisit your growth over time.
Engage with online communities, share work in progress, and ask for feedback. Join themed art challenges and set small goals, like mastering one new brush or trying a limited color palette each month. These focused experiments push your skills gradually.
Choose a project that excites you and apply your new skills and techniques. Let your creativity and setup showcase your progress. Happy illustrating!
.jpg)


