 (Image via
Resin brings brilliant color, striking shine, and one-of-a-kind textures directly to your home workspace. With only a solid table, proper airflow, and a bit of curiosity, you can dive into imaginative projects without special equipment. This guide leads you through making functional coaster sets as well as bold wall art, all from the comfort of your kitchen or craft corner. Each project includes straightforward instructions, useful hints, and plenty of inspiration to keep your creative energy flowing. Whether you want to make custom gifts or simply add a personal touch to your décor, resin projects offer endless possibilities to explore and enjoy.
Gather your tools, prepare your workspace, and get ready to transform simple materials into personalized treasures. Whether you want gift-worthy pieces or signature accents for your own space, these projects will guide you through mixing, pouring, and finishing resin like a pro.
Gathering Your Resin Materials
- Resin and hardener (try ArtResin for its beginner-friendly formula)
- Silicone molds in various shapes
- Pigments, mica powders, and alcohol inks
- Protective gear: nitrile gloves, safety goggles, and a respirator mask
- Mixing tools: graduated cups, wooden stir sticks, and a digital scale
- Painters’ tape, sandpaper (120 to 600 grit), and a heat gun or torch
Organize materials on a plastic-covered table or a drop cloth. Label cups for resin and hardener to avoid mix-ups. Use a digital scale for precise measurements; a small imbalance can affect curing time and clarity. Always wear protective gear and work somewhere well-ventilated, like a garage with the door open.
Keep paper towels and isopropyl alcohol close by. They help clean spills and remove fingerprints before resin fully sets. When you’re ready, plan each step by laying out molds, pigments, and tools in the sequence you’ll need them.
Project 1: DIY Resin Coasters
These coasters add a splash of color to any table and make perfect gifts. You’ll learn layering techniques and how to seal edges for a polished look.
- Measure equal parts resin and hardener; pour into a mixing cup.
- Stir slowly for two minutes, scraping the sides to avoid bubbles.
- Add a drop of pigment or alcohol ink and blend until uniform.
- Pour a thin base layer into each coaster mold, then use a heat gun to pop bubbles.
- Wait 10 minutes, then pour a second layer with a contrasting color.
- Gently tilt the mold to create marbled patterns.
- Cover and let cure for 24 hours, then pop out and sand edges if needed.
If you want a glittery twist, sprinkle eco-friendly glitter onto the first layer before it sets. To make matching sets, repeat the color combination across four molds. Store your new coasters on felt pads to protect surfaces.
Project 2: Embedding Objects in Resin
You can preserve small keepsakes—like pressed flowers, coins, or charms—within crystal-clear blocks. This technique highlights details and adds depth to your piece.
Begin by placing your chosen object in a silicone mold. Mix resin and hardener at a slow stir to reduce bubbles. Pour just enough resin to cover the base of the object. Use a toothpick to position delicate items so they float in the center. After a light cure (about two hours), pour the remaining resin.
Seal porous items like paper flowers with a thin layer of resin or clear acrylic spray before embedding. That prevents warping or discoloration once submerged. Once the final pour cures, demold and polish the flat surfaces for a glass-like shine.
Project 3: Resin Wall Art and Color Blooms
Create one-of-a-kind wall panels by splashing and spreading resin colors on wood or canvas. This flowing, abstract method delivers dynamic shapes and vibrant contrasts.
Mix separate batches of resin in small cups—one batch for each hue. Add mica powder or alcohol ink to each. Start with a base pour of clear resin across your substrate. Then, drizzle colored batches in circles or zigzags. Use a blow dryer or heat gun on low heat to push colors and form petal-like blooms.
Watch as pigments swirl, then adjust by tilting the panel or adding extra drops in wet areas. If you want crystal-like edges, drip clear resin around the border after the design sets for 5–10 minutes. Once cured, mount the panel with floating picture hangers for a modern look.
Project 4: Handmade Resin Jewelry
Miniature art you can wear transforms resin into earrings, pendants, and bracelets. Tiny molds and precise pours highlight intricate details.
Position small items—flower petals, beads, metal charms—into jewelry molds. Mix just enough resin to fill these small cavities. Add a toothpick swirl for marbling. Insert a bail or eye pin into the resin before it cures to create a ready-to-attach piece.
Demold after 12 hours, then sand any rough edges with fine-grit paper. Drill holes or attach jump rings as needed. Finally, apply a UV-curing varnish to enhance shine and durability. You’ll end up with personalized necklaces and earrings that reflect your style.
Project 5: Resin River Table Accents
Add a resin “river” between wood slabs or on tabletop inserts for a dramatic centerpiece. This combines woodworking and resin art for a functional piece.
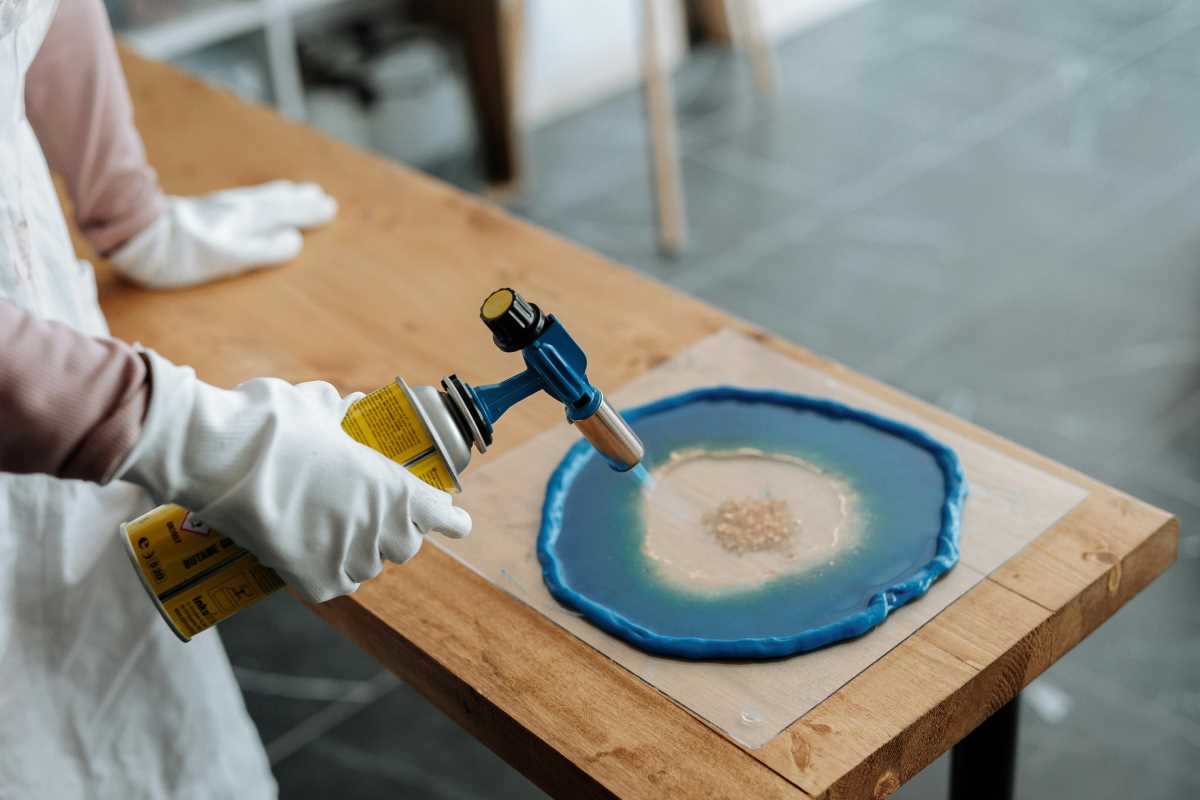
Use a plank of live-edge wood or two straight-edged pieces. Clamp them to a flat surface. Seal cracks with painter’s tape on the underside to prevent leaks. Mix a large batch of resin, adding deep blue and green pigments for a water effect. Pour slowly into the gap, then level with a spatula.
Apply a thin torch pass over the surface to eliminate bubbles. Let it cure completely before de-clamping. Once solid, sand the entire tabletop with progressively finer grits, then apply wood oil to the lumber portions and polish the resin channel.
These five projects showcase the flexibility of resin—from small trinkets to furniture-grade accents. You will improve your skills in mixing, coloring, and finishing, then adapt each technique to your own creative ideas.
Gather your supplies, clear a space, and start pouring. Let your imagination guide your glossy creations. Resin art is both rewarding and versatile.
.jpg)


