 (Image via
Colorful creations begin when you let curiosity guide your hands and experiment with vibrant paints. By choosing different pouring mediums and using playful techniques, you can craft designs that feel truly unique. Each time you adjust the tilt of your surface, change the order in which you layer your colors, or influence the flow with a gentle breath, you invite surprising patterns to appear. With a small selection of paints, a steady workspace, and a willingness to try new approaches, your artwork will capture attention and bring energy to any canvas or AquaBoard panel you choose.
Every pour becomes a playful experiment. You’ll feel the thrill when cells appear, colors collide, or wave-like veils unfold. By following clear steps, trying vivid color combos, and observing your mixes, you’ll build confidence quickly. Let’s gather supplies and dive into five core techniques that turn paint pours into art you’ll proudly display.
Gathering Your Materials
You’ll want reliable paints, a medium to stretch them smoothly, and tools for mixing and moving paint around. Investing in good basics helps you focus on creativity instead of technical hiccups. Lay everything out on a clean, level surface covered with plastic or newspaper to catch drips.
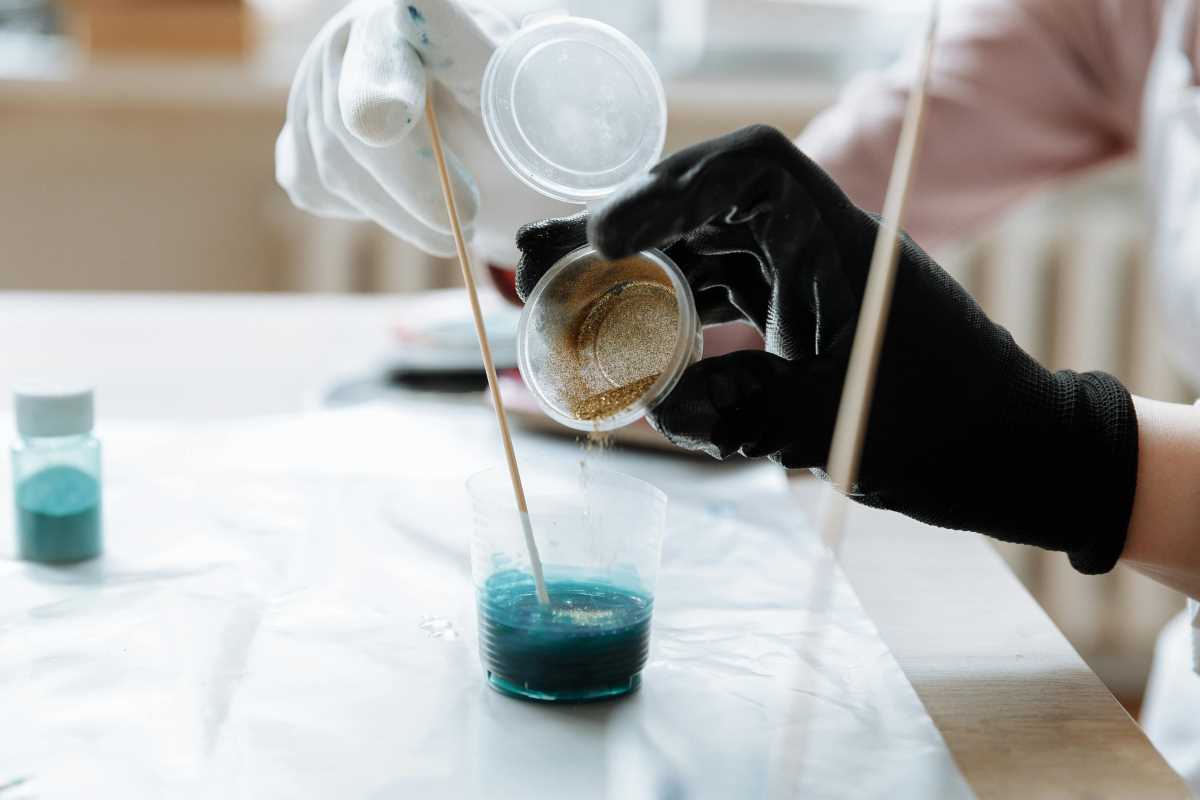
- Fluid acrylic paints in at least five colors, including white or black for contrast
- A clear pouring medium designed to blend seamlessly with paint
- Silicone oil drops to help cells form
- Plastic cups and stir sticks for measuring and mixing
- Canvas panels, wood panels, or sturdy thick paper
- Stretchable gloves, a silicone torch, and a level platform
Once you have supplies ready in one spot, label each cup so you can track color names and ratios while mixing. Make sure the pouring medium and paint blend without lumps—stir gently to avoid stirring in air bubbles.
Place your canvas elevated on cups or blocks. That way, your paint can flow off edges evenly. Use a silicone torch and heat gun on low to pop stray bubbles, and protect your floor or table with a drop cloth. With your station set up cleanly, you’ll spend more time practicing technique and less time worrying about mess.
Technique 1: Dirty Pour Method
Dirty pours combine layers of different colors in a single cup before flipping or tilting onto the canvas. You’ll watch swirls and rings unfold as the paint streams out. This method suits a free-form approach and requires minimal tools beyond cups and paint.
Start by layering paints inside a larger cup. Pour one color gently down the cup’s side, then add the next shade right on top. Keep layering until you reach the top, letting colors rest side by side. When you flip or tip the cup, they separate and reveal unique patterns.
Press the cup onto the canvas, then lift it slowly. Tilt the surface gently in circles or diagonals, guiding the flow toward the edges. To coax out more cell action, drip a few drops of silicone oil onto the surface and pass the torch quickly over wet paint. Watch the cells bloom like tiny islands of color.
Clean your cup and repeat to cover each section. By changing the order or ratio of your layers, you’ll explore endless design possibilities without extra planning.
Technique 2: Swipe and Torch
Swipe and torch adds a dynamic element by dragging layers across the canvas, then popping bubbles to reveal vibrant cells. You’ll follow clear steps to achieve the look:
- Pour horizontal pools of colors side by side at one edge of the surface.
- Hold a piece of plastic, paper towel, or silicone tool at a low angle and gently drag it across the pools.
- Observe paint stretching and mixing, then pause once you cover the canvas.
- Apply gentle heat with a torch about 6 inches away to encourage cell formation.
- Take a step back and admire how the swiped flow moves across the surface.
Try contrasting warm and cool tones for bold impact. If you start with a middle shade, cells often appear lighter at the edges and darker at the center. Practice varying your swipe speed: slow swipes yield wispy lines, while quick swipes produce blurred transitions.
You’ll want to sweep from one side to the other in a single smooth motion, then apply heat in small bursts. Don’t linger too long in one spot or you’ll dry the paint unevenly. With this hands-on move, each swipe becomes a signature flourish in your design.
Technique 3: Flip Cup and Puddle Pour
Flip cups and puddle pours create concentric rings or sprawling blobs you can spread out. Both methods highlight how layering and gravity work together.
For a flip cup, layer your colors inside a cup just like a dirty pour. Press the cup onto the canvas face down. When you lift, the paint spreads into a circular pattern. Tilt the panel slowly to coax the edges outward, then use a torch to trigger cells.
Puddle pours start by dropping each color directly onto the surface. Hold the cup a few inches above and drip small puddles in a cluster or grid. Once the area looks packed, tilt the canvas to send the colors sprawling into each other, forming soft rings and lines.
You’ll experiment with distances between drops, using either a steady hand or a wide-mouth squeeze bottle for controlled puddles. These methods reveal how much paint thickness and drop height affect your final shapes.
Technique 4: Ring Pour and String Pull
Ring pours add a bold outline effect. Start with a base color across the canvas, then hold a cup overhead and pour a circular ring of paint. Use a large brush or stick to drag your paint inward or outward, creating petals or star-like forms.
For string pulling, soak a piece of cotton string in paint, drape it across the surface, then pull it off in one motion. This action draws thin lines and veins that look like marbling. You can dip the string in multiple colors for variegated streaks.
Try combining a ring pour base with string pull accents. Once the ring settles, place the string across it and lift. The paint threads form delicate branches of color that dance around the ring’s edge.
These steps demand steady hands and attention to pull speed. Faster pulls yield thin, wispy lines; slower pulls create wider, more dramatic streaks. As you practice, you’ll gauge the exact tension and speed you prefer.
Technique 5: Dutch Pour and Air Manipulation
In a Dutch pour, you use air to move paint around instead of tilting. Start with heat-blown stripes or blobs on the surface. Then use a silicone torch or a small hair dryer on low to push the paint into waves and cells.
Place lines of color parallel to each other, leaving narrow gaps. Aim the nozzle toward the paint at a low angle, sweeping across the lines. The airflow fans out the paint into a wispy, feathered look. Circling the torch triggers cells and soft transitions.
You’ll adjust your airflow intensity and scent the torch with quick passes. Too much force scatters paint; too little leaves the design too static. Test on a spare panel to find your sweet spot. As you apply steady air, watch the paint edges curl into fine lace.
This approach gives you organic, wind-swept patterns that feel alive. Once the shapes take form, let the paint level out naturally without further tilting or swiping. That way, you preserve the fragile feathered edges and subtle color merges.
Exploring Creative Techniques
Each technique offers a new way to play with paint, color, and motion. By mixing and matching methods, you’ll invent your own signature style and refine hands-on skills. Setup quickly, pick a technique, and enjoy every surprising outcome.
Gather your materials, select a technique, and start creating your next colorful masterpiece today.
.jpg)


