 (Image via
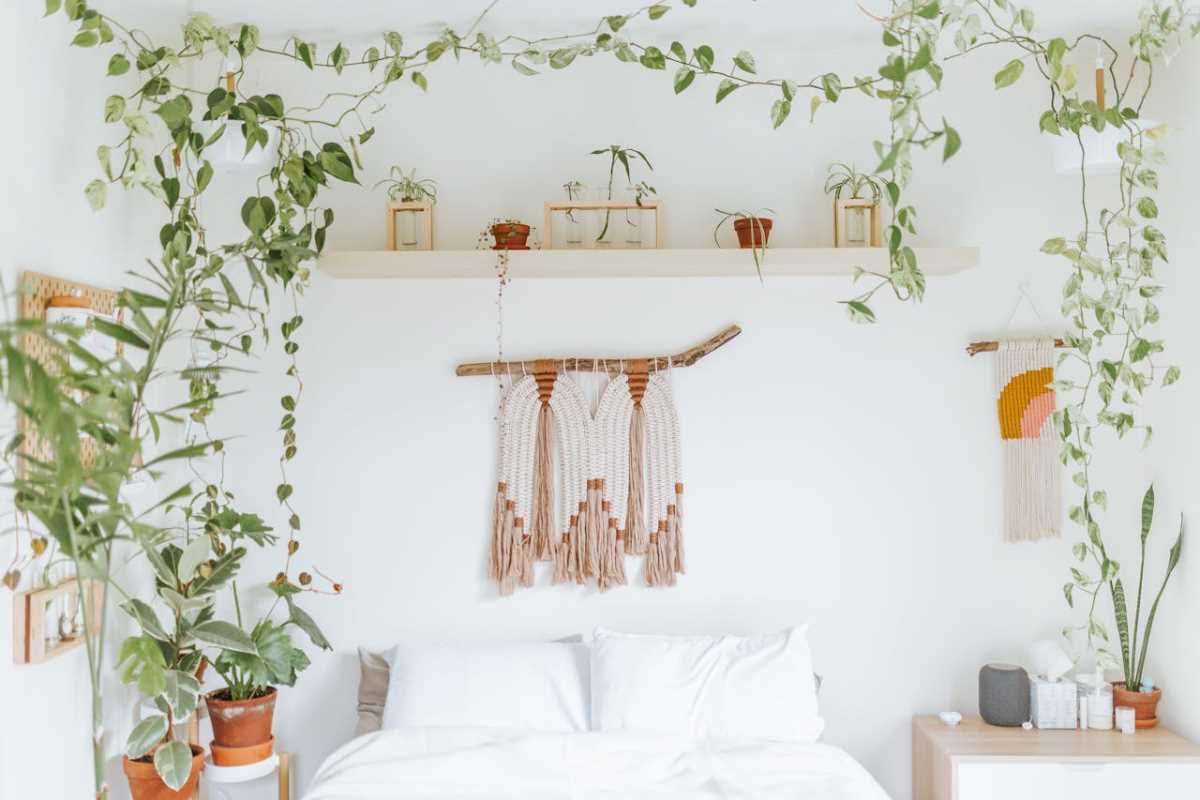
Macramé wall décor offers a creative way to bring warmth and character into any room. By choosing basic supplies and practicing a few essential knots, you can craft pieces that highlight your unique style. As you work through each step, your skills grow and your confidence increases, making the process enjoyable and rewarding. Creating these handmade designs lets you add a personal touch to your living space or surprise someone special with a thoughtful gift. The soothing repetition of knotting not only produces beautiful art but also brings a sense of accomplishment when you admire your finished piece.
Materials and Tools Needed
- Natural cotton cord (3–5 mm thickness) in two or three colors
- A wooden dowel, driftwood branch, or metal ring for support
- Sharp scissors to trim ends neatly
- Measuring tape to ensure even lengths
- A clipboard or small board with clamps to hold cords while you knot
High-quality cord gives your piece a professional feel and keeps knots secure. Select a smooth, twist-free rope that feels soft to the touch. Experiment with color combinations: neutral tones blend with any space, while bright shades add a playful pop.
Using a sturdy dowel or driftwood branch adds character. A rustic stick brings organic texture, while a sleek metal ring gives a modern twist. Clamp your cords in place to maintain consistent tension and prevent slipping as you work.
Basic Macramé Knots and Techniques
- Square Knot: Pair two central cords with two working cords to make alternating half-knots.
- Half Hitch: Wrap one cord around an anchor cord for diagonal or horizontal lines.
- Lark’s Head Knot: Fold a cord in half and loop it around the support for a tidy start.
- Double Half Hitch: Repeat half hitches along a guide cord to form straight edges.
Mastering these four knots unlocks almost any pattern you imagine. Practice each knot on a scrap piece until loops stay neat and tension remains consistent. Pay attention to left- and right-handed versions of the half hitch to tilt lines in different directions.
Work in a well-lit area so you can check knot placement. Keep your tension even: too tight will distort the design, while too loose leaves gaps. Use slow, deliberate movements as you wrap and pull each loop into position.
Design Your Own Pattern
Start by sketching a simple design on paper. Draft a central motif—perhaps a diamond shape, chevron lines, or abstract waves. Decide how many cords you need for each section and note color changes along the way. You can adjust this layout for smaller or larger hangings by changing cord counts.
Add texture by alternating knot types in rows. For example, frame a series of square knots between bands of half hitch lines. Mix two or three colors by swapping working cords at key points in the design. For a boho look, add long fringe at the bottom and unravel twisted cords for a feathered effect.
Step-by-Step Crafting Process
Start by cutting all cords to length, usually two to three times your intended hanging height. Fold each cord in half and attach them along the support with lark’s head knots. Make sure you have an even number of working strands for symmetry.
Next, follow your sketch section by section:
- Row 1: Create square knots across the entire width.
- Row 2: Shift half hitch lines diagonally from the edges toward the center.
- Row 3: Add a band of alternating square and double half hitch knots for contrast.
- Row 4: Change colors by switching working cords at intervals.
Pause after each row to straighten cords and trim stray fibers. Keep your clipboard or clamp system secure so knots don’t loosen under their own weight. If you notice an irregular loop, don’t hesitate to undo and redo that section—it only takes a moment and keeps your pattern crisp.
Tips for Finishing and Displaying Your Wall Hanging
After finishing the last row of knots, trim the lower ends at an angle or in geometric shapes like a V or stepped pattern. Use a fine-tooth comb or soft brush to tease out fringe for a lush look. You can also dip the fringe in diluted fabric stiffener, shake off excess, and let it dry for controlled fluffiness.
To hang your piece, thread twine or ribbon through the support object and attach it to a hook or nail. For a floating effect, mount two small hooks at different heights on the wall and drape the cord ends over each hook. This creates gentle swags and adds dimension. For extra flair, weave in beads or small wooden accents before tying your final knots.
Your decorative macramé wall hanging now reflects your unique patterns and textures. Feel proud as your creative vision comes to life.
.jpg)


