 (Image via
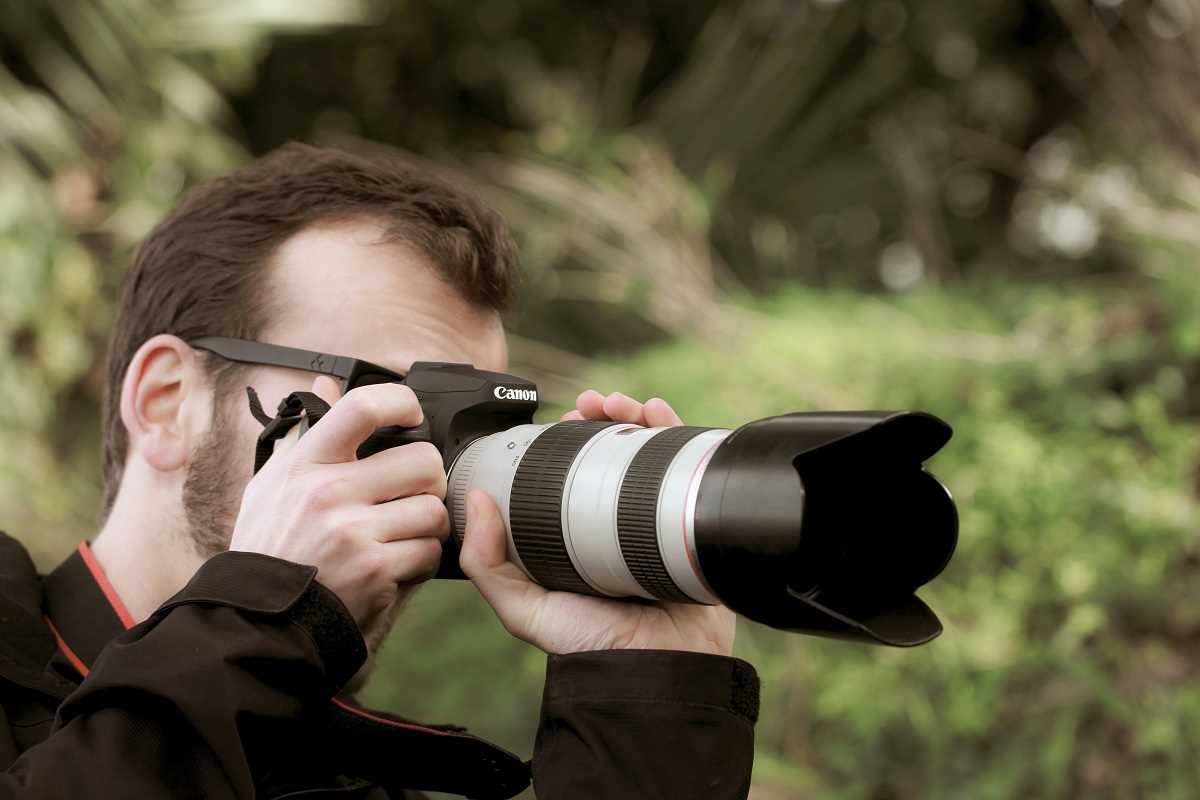
Soft rays of morning sunlight drift through the forest canopy while you kneel beside a gentle stream, camera ready in your hands. Each sound from the brush heightens your anticipation as you wait for the perfect moment. Spotting a deer glancing your way or witnessing a kingfisher plunge into the water fills you with excitement that expensive equipment alone can’t provide. When you combine a simple set of gear with careful attention, you can capture these brief, magical encounters in sharp detail. Sharing these photographs lets others experience the awe and beauty of the wild places you explore, inspiring appreciation for the natural world.
Gear Mindset for Unexpected Wildlife
- Compact Zoom Lens — This lightweight optic extends your reach without adding weight, making it ideal for long walks and sudden animal encounters.
- Usage: Mount it securely, twist the zoom ring to frame your subject, and steady it with both hands.
- Cost: Expect to spend around $150–$300 for a decent third-party model.
- Insider tip: Loosen the focus ring slightly to switch quickly from manual to autofocus when birds swoop in.
- Neckstrap Harness — This stabilizes your camera under your chin, reducing shake when hiking over uneven ground.
- Usage: Attach spring-loaded hooks to your camera’s strap lugs, adjust straps so the camera rests at sternum level, then lock tension clips.
- Cost: A harness often costs $20–$40 online.
- Insider tip: Thread the strap through your backpack’s hip belt for extra security on steep trails.
- Neutral Density Filter — This lets you control shutter speed for creative motion blur or to stop fast wings in bright conditions.
- Usage: Screw the filter into your lens’s front threads, dial in the desired stop reduction, and test exposures.
- Cost: A basic ND8 filter runs about $25.
- Insider tip: Keep a microfibre cloth in a zip pouch to quickly clear moisture between shots in humid habitats.
Mastering Your Camera’s Core Functions
- Adjust ISO
- Increase sensitivity in low light until shutter speeds exceed 1/500 second to freeze wingbeats.
- Keep ISO below 1600 to avoid grain.
- How to adjust:
- Change ISO via the quick menu dial.
- Press OK to confirm.
- Take a test shot and review the histogram.
- Select Shutter Priority Mode
- Use this to choose shutter speeds over aperture.
- How to adjust:
- Set your mode dial to S (Shutter Priority).
- Turn the main dial to set 1/1000 second for tracking fast animals.
- Half-press the shutter to focus and fully press to capture.
- Check the exposure scale in the viewfinder to prevent underexposure.
- Use Continuous Autofocus
- Enable AF-C to allow the camera to predict subject movement.
- How to enable:
- Enter the camera menu and select AF-C or AI Servo mode.
- Choose a dynamic-area setting for flexible focus points.
- Assign a back-button for focus tracking.
- Keep your thumb near the button to refocus quickly when subjects change direction.
Insider Field Techniques for Perfect Timing
Learning animal patterns helps turn surprise encounters into reliable photo sessions. Spend early mornings by watering holes or check animal tracks along riverbanks to anticipate paths. Move quietly and watch reflections in foliage that reveal hidden routes.
Blend into the environment with natural cover and soft colors. When you spot movement, pause and hold your position until the subject enters optimal light. As you press the shutter, breathe steadily to avoid camera shake and keep your presence calm. Observe how shadows shift and reposition yourself to capture vivid side lighting. Wildlife moments emerge best when patience meets preparation.
Practical Steps to Capture Wildlife Moments
- Steady-Hand Grip
- Plant your feet shoulder-width apart.
- Bend elbows inward and support the lens with your left hand.
- Tuck your right elbow against your torso while half-pressing the shutter.
- Insider tip: Wear a slim backpack to lean against shelter walls for extra support.
- Cost: Free (requires only proper body alignment).
- Silent Shutter Mode
- Activate via the shooting menu.
- Switch to electronic or silent shutter mode.
- Confirm the mode is on via EVF activation icon.
- Insider tip: Test at various frame rates to avoid rolling shutter artifacts.
- Cost: Free.
- Pre-Focus Strategy
- Manually focus on a likely zone.
- Lock manual focus at a reference point.
- Wait for the subject to enter that focal plane.
- Insider tip: Use tape marks on your lens for quick distance recall.
- Cost: Free, requires pre-scouting time.
- Use Continuous Burst Shooting
- Enable high-speed continuous mode in drive settings.
- Prioritize speed over image quality in the buffer settings.
- Hold shutter to capture subject in motion.
- Insider tip: Review and delete unwanted shots to free space and save battery.
- Leverage Natural Frames
- Use surrounding elements like branches or rocks to frame your subject.
- Scout and compose shots before wildlife appears.
- Insider tip: Crouch low for foreground depth that leads to the subject’s eye.
- Optimal Memory Cards
- Select UHS-II cards with 250 MB/s write speed.
- Insert into a UHS-II compatible slot and format in-camera.
- Monitor space remaining during the shoot.
- Insider tip: Use color-coded card cases to swap easily in low light.
- Cost: $40–$60 for 64 GB.
- Posture Checkpoints
- Shift weight between legs to ease strain.
- Stretch hips and rotate shoulders gently.
- Insider tip: Set a 20-minute timer to remind yourself to stretch.
- Cost: Free.
- External Link Embedding
- Use clear anchor text to link tutorials or references.
- Ensure links open in new tabs to retain traffic.
- Insider tip: Preview links to verify accuracy and user experience.
- Cost: Free with blogging platforms.
Each outing sharpens your skills and turns fleeting wildlife encounters into lasting images. With minimal gear and mindful technique, you’re ready to capture spontaneous moments that tell powerful stories. Keep exploring—every trail holds a new opportunity to grow and connect with nature.