 (Image via
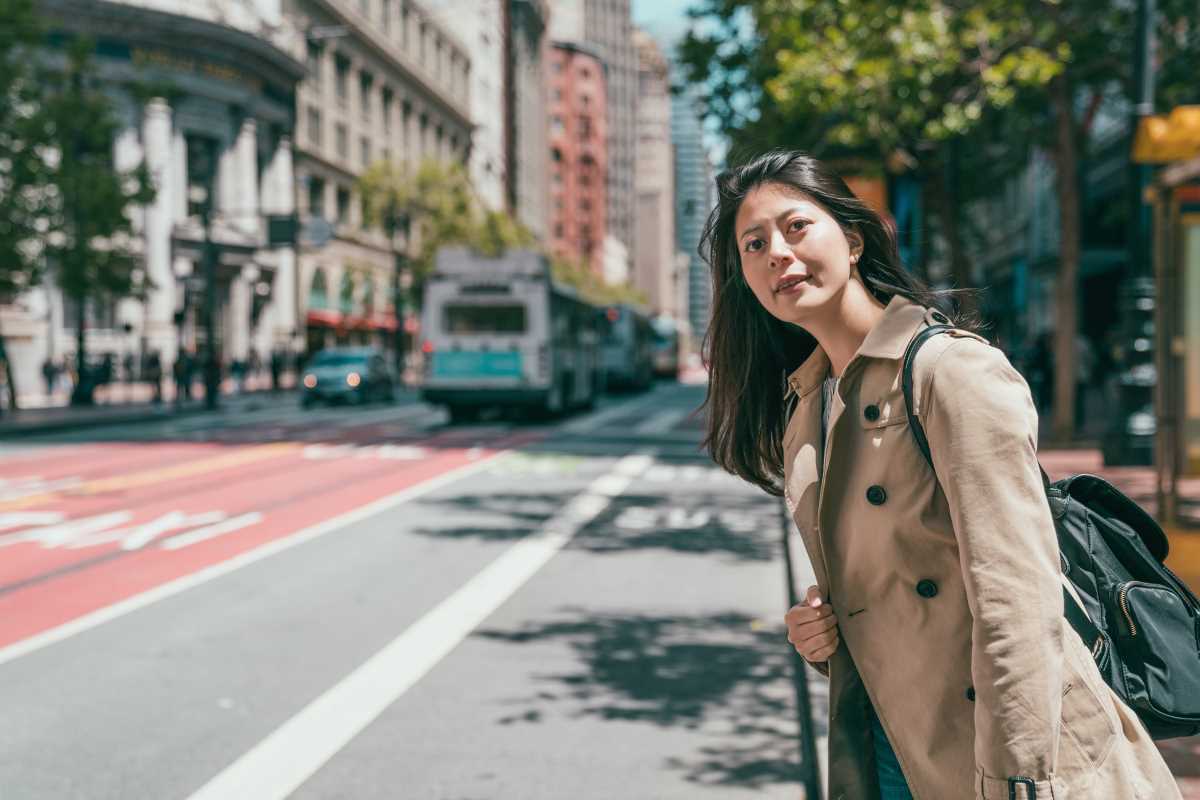
Cobblestone lanes guide your steps as sunlight spills across lively plazas, filling the air with the promise of discovery. With your camera in hand, you find each moment brimming with possibilities beyond a simple image. Every detail—shifting shadows, vibrant hues, and the rhythm of daily life—offers an opportunity to share a unique story. Exploring new surroundings through your lens invites you to notice what others might miss, capturing the essence of a place with every click. Allow this introduction to awaken your curiosity and inspire you to seek out fresh perspectives that reveal more than any traditional travel guide ever could.
This guide speaks directly to anyone who loves exploring corners of the world and wants to record experiences through a lens. You’ll discover fresh ideas and practical steps tailored to hobbyists with hands-on experience, so every trip becomes a chance to innovate, surprise yourself, and craft images that feel alive.
New Angles to Inspire Your Shots
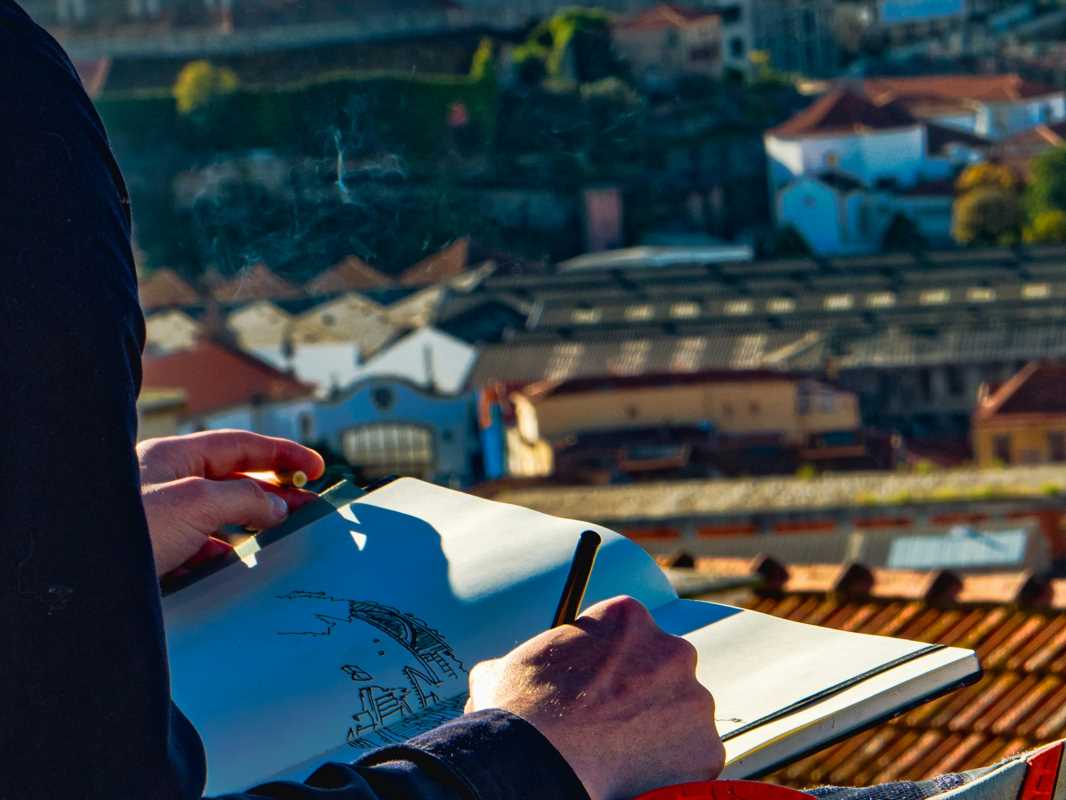
- Pay attention to fleeting atmospheres: Instead of chasing landmark shots alone, notice ambient details like mist drifting over rooftops or fleeting sunbeams cutting through trees. Observe how light transforms ordinary scenes into micro-moments of magic, then adjust your exposure or frame low to capture that exact mood and highlight contrast.
- Try unconventional vantage points: Step above, crouch below, or peek around corners to find angles others overlook. Experiment with holding your camera near the ground to make street puddles and reflections the main focus, or lean over railings to get an aerial feel without a drone. That change can turn a common scene into a new visual story.
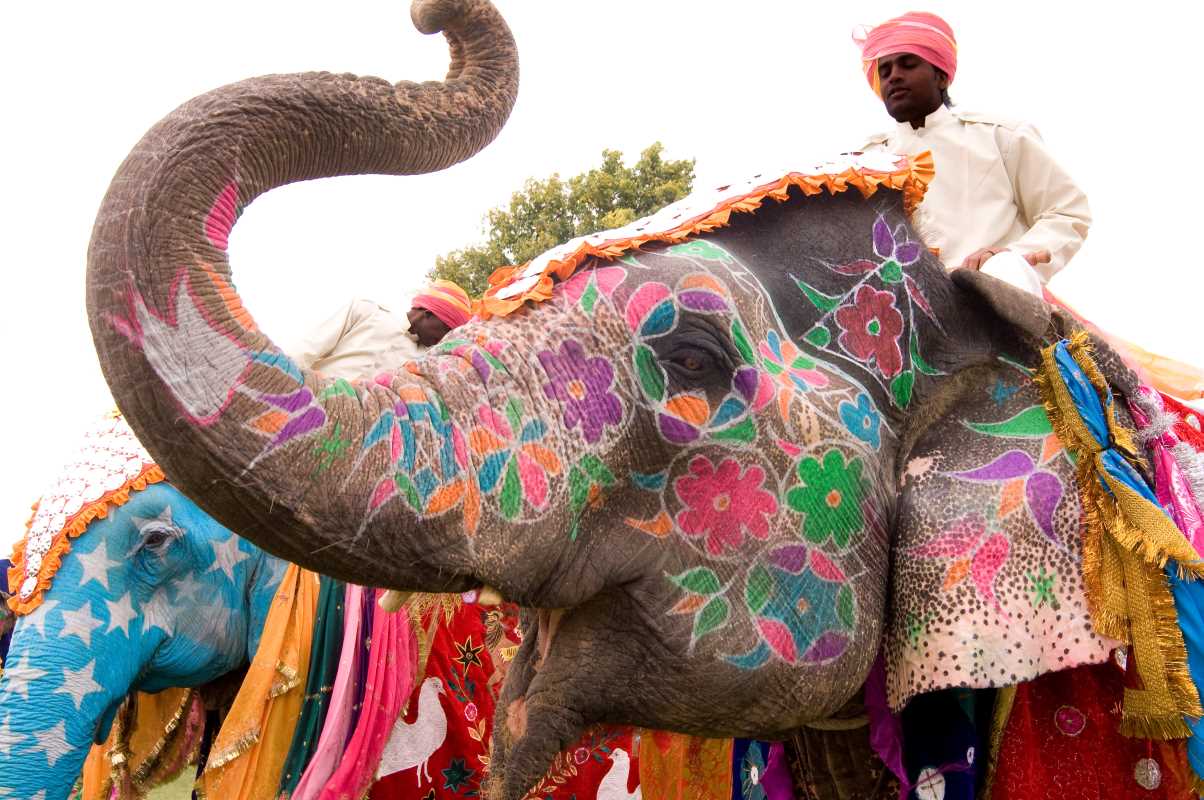
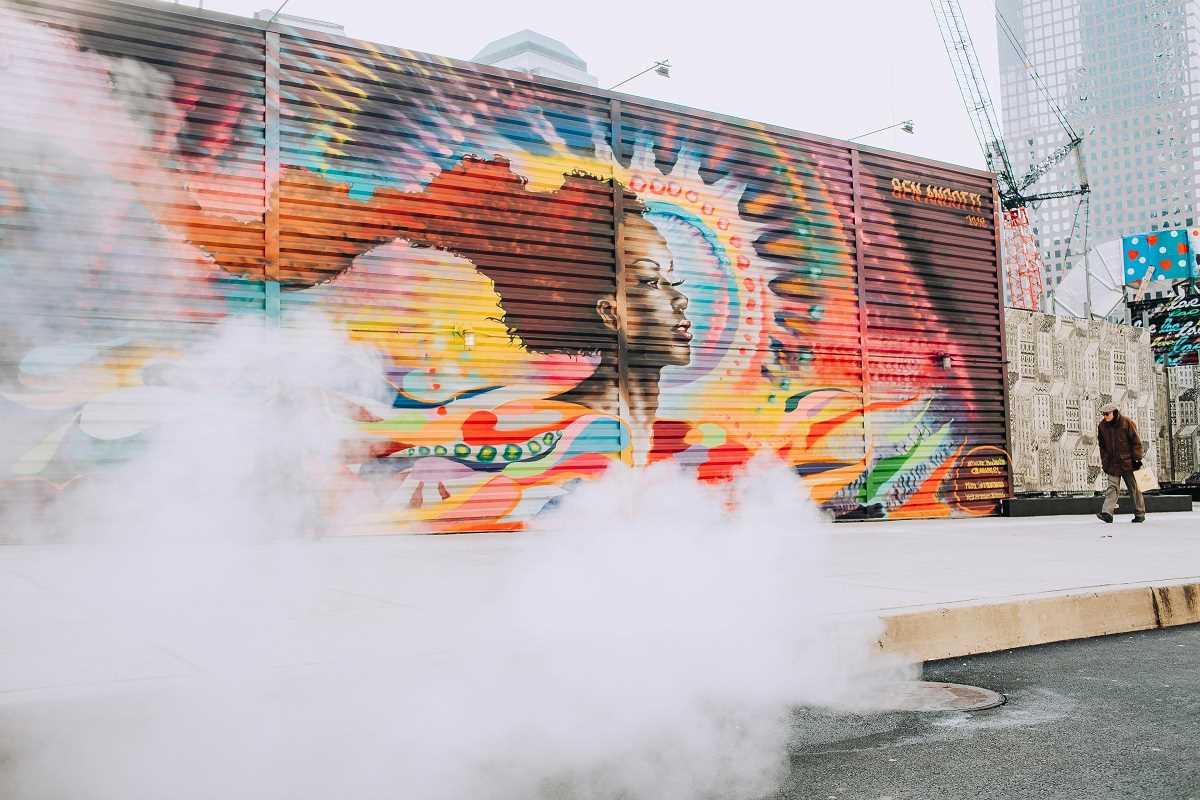
- Look for color contrasts: Instead of shooting everything in standard daylight, focus on how complementary hues—like deep teal walls against warm ochre sunlight—interact. Search walls, fabrics, or local markets for palettes that harmonize. Then tweak your white balance to produce richer tones and guide the viewer’s eye along color paths.
Five Techniques to Try on Your Next Trip
- Candid Storytelling
- Purpose: Capture genuine human moments without staged poses
- Step-by-Step Usage:
- Pick a moderate telephoto lens around 85–135mm for comfortable distance.
- Switch to continuous autofocus mode and set a fast shutter speed around 1/500s.
- Watch local routines to anticipate gestures or glances that show emotion.
- Keep ISO below 800 for balanced noise unless the light dims.
- Hold down the shutter to record micro-expressions and select the frame that resonates best.
- Cost/Availability: Standard prime lenses cost between $200–$600; shops are common in tourist towns.
- Insider Tip: Stand near exit points of busy squares to catch people in transit, which often reveals more candid interactions.
- Play with Perspectives
- Purpose: Emphasize scale and depth by contrasting subjects
- Step-by-Step Usage:
- Place a small object—like a souvenir or rock—close to the lens.
- Set the aperture between f/8 and f/11 to keep both foreground and background sharp.
- Move until background monuments stand behind your foreground object.
- Use live view to check alignment and focus accurately.
- Take several shots as pedestrians or vehicles pass by to add dynamism.
- Cost/Metric: Any small prop costs under $10 or find a natural item on site.
- Insider Tip: Use a mini-tripod or bean bag to stabilize when you’re low to the ground.
- Capture Light Trails Through Long Exposures
- Purpose: Show movement with long shutter times
- Step-by-Step Usage:
- Mount your camera on a tripod and set it to bulb or manual-2s shutter mode.
- Reduce ISO to 100 and set aperture near f/16 for bright streetlights.
- Take exposures between 1 and 3 seconds to capture light streaks from passing cars or lanterns.
- Frame near busy streets or pedestrian paths after sunset.
- Use a remote shutter release or self-timer to avoid shake.
- Availability: Affordable tripods start at $30 online or rent locally.
- Insider Tip: Find spots with dark backgrounds to make trails stand out sharply.
- Use Reflective Symmetry to Create Mirror Images
- Purpose: Achieve balanced compositions with reflections
- Step-by-Step Usage:
- Find still water surfaces—lakes, fountains, or puddles.
- Position your lens parallel to the waterline to get clear reflections.
- Open the aperture to f/5.6–f/8 to keep both sky and reflection sharp.
- Adjust your camera height until the symmetry looks perfect in the viewfinder.
- Use a polarizing filter only if glare interferes with the reflection.
- Cost/Metric: Circular polarizers cost between $20 and $50 depending on size.
- Insider Tip: After rain, explore alleys for hidden puddles that reflect unexpected skylines.
- Create Focus Points with a Sharp Subject and Blurred Background
- Purpose: Make your subject stand out by isolating it with focus
- Step-by-Step Usage:
- Use a lens with a wide aperture (f/1.8–f/2.8) for smooth bokeh.
- Move within two to six feet of your subject to soften the background.
- Switch to single-point autofocus and aim at the subject’s eye or main detail.
- Keep ISO around 200–400 for clear images.
- Lightly tap your lens barrel to test focus accuracy before shooting.
- Availability: Basic fast prime lenses cost less than $100 secondhand.
- Insider Tip: Place backlighting behind your subject to create a rim-light effect for extra separation.
Simplified Gear Choices
Focusing on versatile and portable equipment makes selecting gear less intimidating. A lightweight mirrorless camera with a zoom range around 24–70mm covers landscapes and portraits without the need to change lenses frequently. Include two memory cards to back up your photos automatically and avoid losing data in remote areas.
Always carry a microfiber cloth to clean your lens when dust or mist appear. Choose a strap that can also be used as a hand sling, allowing quick switching between hands-free carrying and ready-to-shoot positions. This simple setup helps keep your camera at hand and captures sharper images.
Editing Tips to Boost Creativity at Home
Enhance your travel photos by editing each one individually—adjust white balance, exposure, and sharpness to preserve the scene’s true mood. Use gradient masks for dramatic skies and archive high-res versions while sharing compressed ones online. These simple edits help your images tell a vivid, authentic story.