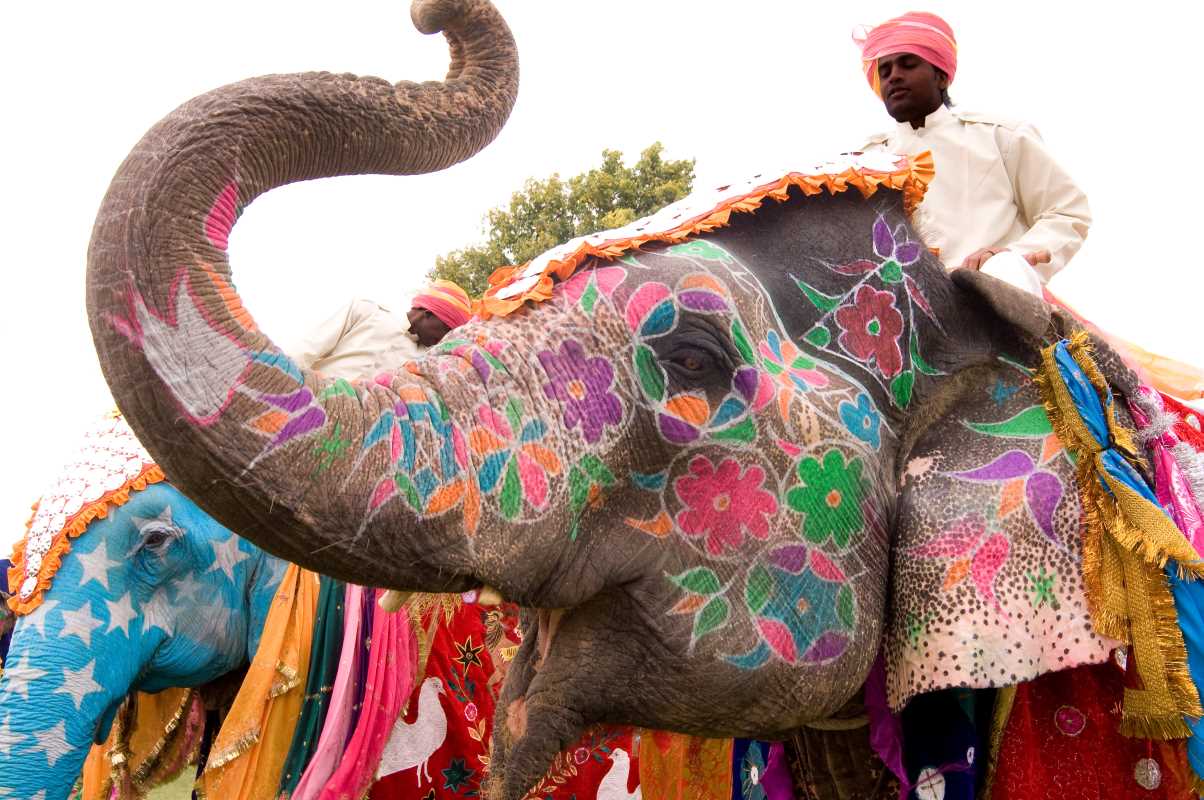
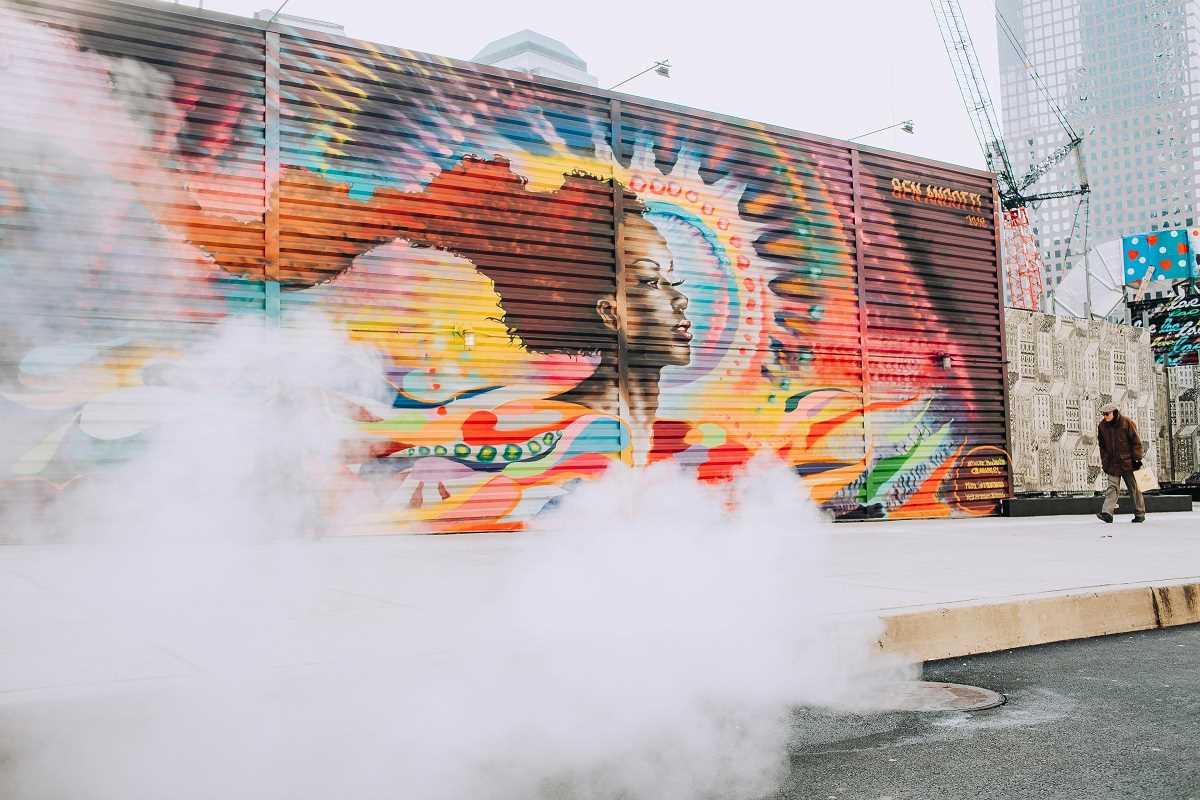
Vibrant music fills the air, crowds cheer in excitement, and lanterns cast a warm glow over bustling festival grounds. The energy of these celebrations draws curious travelers, promising unforgettable memories and unique cultural experiences. Planning a trip to a major festival involves more than securing entry passes or finding a convenient place to stay. It calls for a thoughtful blend of creativity and careful preparation to make the most of every moment. This guide offers helpful insights and new ideas to bring energy and enthusiasm to your journey, inspiring you as you get ready for adventure from start to finish.
Creating Your Festival Journey
Building a memorable festival adventure depends on embracing sensory storytelling. Instead of viewing dates and stages as mere bullet points, picture the unique sequences that connect each event scene-by-scene. When you treat each moment like a chapter, you create a narrative arc that turns routine travel into a living story. This way of thinking shifts priorities from logistics toward immersive engagement with the local vibe and artistic flow.
By weaving personal interests—whether stargazing workshops, artisan markets, or trail yoga—into your schedule, you craft a highly customized itinerary. That flexibility encourages spontaneity, letting you pivot from one unexpected street performance to another. As you plan these segments, include pockets of free time for chance encounters and off-the-beaten-path detours. This balanced structure creates space for serendipity and keeps each day full of possibilities.
Key Steps for Preparation
- Route Planning
- Goal: Map out efficient travel routes to arrive refreshed.
- How to do it:
- Identify the main festival location and nearby transit options, such as shuttle buses or regional rail.
- Use mobile mapping apps for real-time updates on alternate routes.
- Coordinate with scheduled pop-up events along your route.
- Cost/Availability: Most mapping apps are free; paid versions unlock offline maps.
- Insider tip: Download regional transit maps before leaving to avoid dead zones when cellular signals weaken.
- Gear Packing
- Goal: Organize gear to reduce excess baggage fees.
- How to do it:
- Lay out items by categories such as camping gear, clothing, and tech.
- Weigh each category with a digital luggage scale.
- Replace heavy items with lighter alternatives, like inflatable pillows instead of foam blocks.
- Cost/Weight: Inflatable gear costs around $15–$30 per item; saving weight can reduce 5–10 pounds.
- Insider tip: Pack clothes in vacuum-seal bags—compressing layers saves up to 40% of space and keeps fabrics dry during unexpected rain.
- Community Engagement
- Goal: Build a network of peers to share resources and local knowledge.
- How to do it:
- Join online forums or social media groups dedicated to the event.
- Post specific questions about parking hacks, campfire spots, or shuttle schedules.
- Offer small perks, like homemade snacks or a group playlist, to strengthen connections.
- Cost/Weight: Investing in a few packets of trail mix or a premium streaming subscription.
- Insider tip: Share encrypted contact details, such as Signal handles, to stay connected even when cell towers are congested.
- Financial Planning
- Goal: Avoid budget overruns by tracking every expense.
- How to do it:
- Set up a dedicated travel app wallet with a custom spending plan.
- Record expenses immediately after each purchase—food, transportation, gear.
- Review daily spending to catch overspending risks and adjust plans for the next day.
- Cost/Weight: Apps may cost $3–$5 monthly; budget buffers of 15% help cover unexpected costs.
- Insider tip: Convert a small amount of funds into local currency before arriving to avoid high airport exchange fees and ATM surcharges.
- Local Contacts
- Goal: Use native expertise for authentic on-site suggestions.
- How to do it:
- Reach out to local tourism offices or university event groups via email.
- Ask for exclusive tips on nearby hiking trails, pop-up galleries, or late-night eateries.
- Arrange a quick meet-up or virtual chat to confirm details and routes.
- Cost/Availability: Most guides are free digital downloads; in-person walking tours cost about $10–$20.
- Insider tip: Request “secret entry” times when venues allow free or discounted early access outside main lines.
On-Site Logistics and Safety
- Daily Check-In Routine
- Goal: Keep the group connected and emotionally balanced.
- How to do it:
- Choose a fixed “home base” landmark, like a distinctive art installation or concession stand.
- Set daily meet-up times for essential updates on schedule changes or weather alerts.
- Share quick status updates in a group messaging channel.
- Cost/Weight: Free with smartphones and Wi-Fi hotspots.
- Insider tip: Use GPS-enabled “family locator” features sparingly to save device battery and preserve group independence.
- Hydration Station Setup
- Goal: Prevent heat exhaustion and maintain energy.
- How to do it:
- Pack a collapsible water carrier that holds at least three liters.
- Locate refill stations as soon as you arrive.
- Mark refill points on a pocket map or mobile note.
- Cost/Weight: Collapsible carriers cost around $20; most refill stations offer free potable water.
- Insider tip: Add electrolyte tablets to your water in the morning for continued hydration without bulky drink mixes cluttering your pack.
- Noise Control
- Goal: Protect hearing health in loud environments.
- How to do it:
- Insert quality foam earplugs before entering main stage areas.
- Check earplug seals by clapping hands near your ear—sound should be muffled noticeably.
- Rotate earplug use after every two hours of continuous noise.
- Cost/Availability: A pack of 20 foam plugs costs about $5.
- Insider tip: Keep extra pairs in separate pockets so you can quickly put them in when the next act begins—instant relief at the beat drop.
- Waste Management
- Goal: Leave a lighter footprint and respect local communities.
- How to do it:
- Bring a reusable tote and collapsible bin for sorting recyclables.
- Label bags for compost, plastic, and general waste.
- Drop sorted waste at eco-stations or community depots.
- Cost/Weight: Reusable tote costs around $10; waste stations are usually free.
- Insider tip: Fold bags flat and keep them secured under seat straps to avoid accidental littering during crowded movement between stages.
- Emergency Procedures
- Goal: Respond quickly to medical or security issues.
- How to do it:
- Save the festival’s official emergency contact number in all group members’ phones.
- Locate the nearest first-aid tents upon arrival.
- Carry a compact first-aid kit with bandages, antiseptic wipes, and personal medications.
- Cost/Weight: Basic kits cost $15–$25; on-site medical care is usually free.
- Insider tip: Add a waterproof medical alert card listing allergies and emergency contacts inside your phone case for quick reference.
- Capturing Moments
- Goal: Record experiences without blocking views.
- How to do it:
- Attach a small camera wrist strap to prevent accidental drops.
- Set cameras or smartphones to manual exposure for low-light stages.
- Appoint one person as “memory manager” to gather daily highlights.
- Cost/Availability: Wrist straps cost around $8; many venues allow compact cameras.
- Insider tip: Take photos with the sun behind you to avoid silhouettes—bright, clear images capture the energy of performances.
- Sampling Local Cuisine
- Goal: Try regional dishes beyond festival booths.
- How to do it:
- Research street-food stalls within two miles of the venue using maps and local blogs.
- Plan meals during off-peak hours to skip long lines.
- Carry disposable cutlery and napkins for on-the-go tasting.
- Cost/Weight: Street-food dishes average $5–$8; some stalls accept cash only.
- Insider tip: Ask vendors for signature sauce recommendations—sometimes a small drizzle turns simple dishes into unforgettable flavors.
- Taking Rest Breaks
- Goal: Rejuvenate body and mind for multi-day participation.
- How to do it:
- Find quiet areas such as meditation tents or shaded groves.
- Plan two 20-minute power naps or guided relaxation sessions daily.
- Use a portable white-noise app if the environment remains noisy.
- Cost/Weight: Some relaxation zones charge about $5 per session; apps are free or cost around $3 per month.
- Insider tip: Carry a lightweight silk eye mask that also works as a sunshade outdoors, ensuring deeper rest.
Enjoy each festival moment, remain open to new connections, and use these tips to make your experience memorable.
 (Image via


