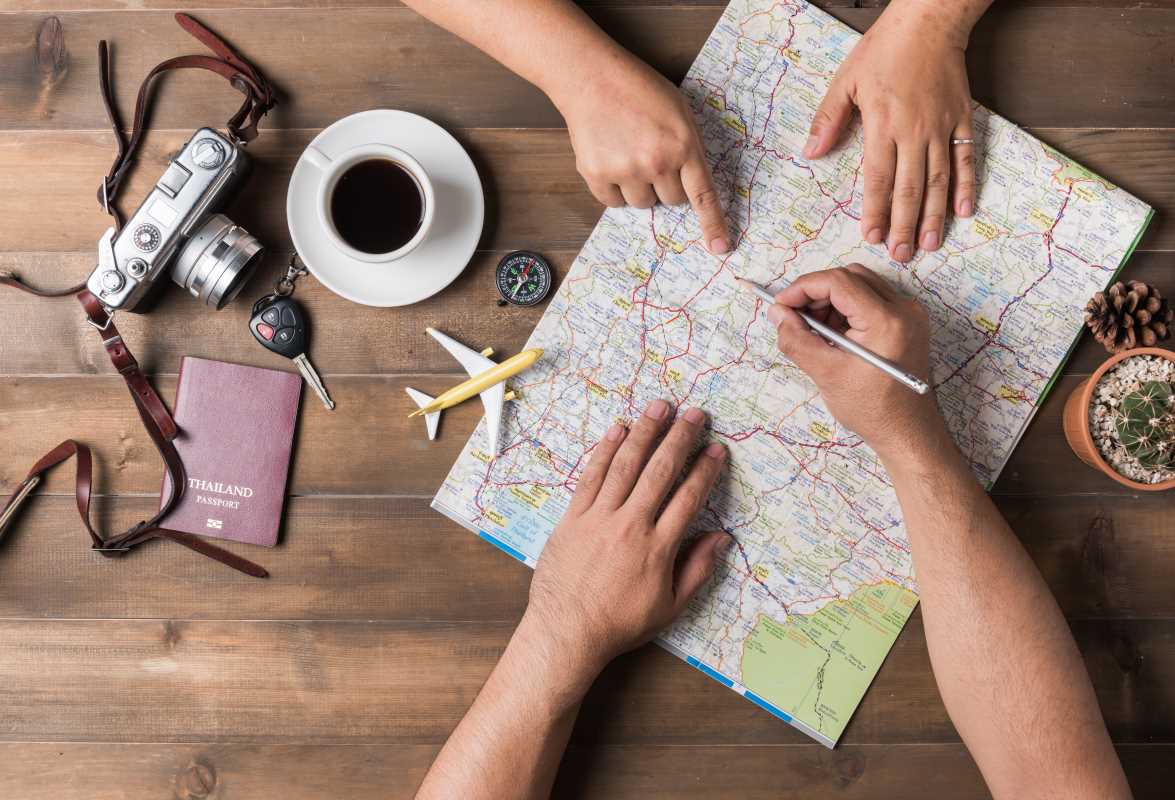
Planning an adventure feels much like drawing your own story on the world’s canvas. A simple idea, such as exploring a lesser-known hiking path or wandering through secret spots in a bustling city, quickly develops into a detailed map that showcases your interests and discoveries. Every step blends creative thinking with practical steps and a bit of technical know-how, guiding you beyond just a simple route. In the end, you create more than directions—you build a set of memories and experiences you can look back on and relive, giving each trip its own meaning and sense of accomplishment.
Below, you’ll find a clear, step-by-step plan: first, we’ll explore why customizing directional guides revitalizes every excursion. Next, you’ll dive into hands-on methods and tools, followed by ways to layer context, add interactive touches, and share your finished creation. By the end, you’ll hold a versatile blueprint for shaping journeys that feel uniquely yours.
Mapping a Journey That’s Uniquely Yours
Imagine the landscape as a blank parchment waiting for your narrative groove. Personalized guides go beyond generic snapshots: they whisper secrets about each bend in the road and hint at flavors just over the horizon. This raw potential invites you to curate not only points on a grid but personal milestones that resonate long after you fold the paper or close the app.
Every contour you highlight, each stop you annotate, turns a standard map into a living diary. That added dimension sparks excitement before you even pack your bag—because every waypoint promises a micro-adventure tailored to your style, whether you chase panoramic vistas or hidden cafés off the beaten path.
Core Steps to Create Custom Blueprints
- Route Selection
- Steps:
- Use an open-source mapping tool to mark start and end points.
- Overlay terrain features to adjust for elevation changes.
- Flag secondary paths for detours that match your pace.
- Cost/Metric: Most open-source tools are free; premium terrain layers may cost under $20 per region.
- Insider Tip: Import GPX tracks from local outdoor forums to avoid common pitfalls.
- Steps:
- Layer Integration
- Steps:
- Pick a base layer (satellite, topographic, street view).
- Overlay points of interest using custom icons.
- Adjust transparency to keep important details visible.
- Cost/Metric: Icon packs often cost $5–$10, or create your own at no cost.
- Insider Tip: Assign color codes to group photography spots, rest stops, or viewpoints categorically.
- Steps:
- Annotation Workflow
- Steps:
- Pin a dot; type in a brief caption about terrain challenges or scenic rewards.
- Attach a photo thumbnail or link for quick reference.
- Export annotations as a PDF or interactive layer for easy access.
- Cost/Metric: Annotation plug-ins are usually free; exporting interactive PDFs may require a one-time $15 upgrade.
- Insider Tip: Keep descriptions under 30 words to maintain clarity at a glance.
- Steps:
- Scale Calibration
- Steps:
- Measure path lengths and compare with known GPS readings.
- Adjust scale settings to account for steep gradients or urban congestion.
- Test sample segments on site or through simulation tools.
- Cost/Metric: Calibration utilities are often included in mapping suites; high-precision options cost around $30 annually.
- Insider Tip: Consider your personal pace—add extra buffer time for every 5 miles when tackling rugged terrain.
- Steps:
- Export and Sharing
- Steps:
- Choose PDF for printing, KMZ for Google Earth, or GeoJSON for advanced editing.
- Test readability on mobile screens by checking orientation and font sizes.
- Share via email, publish on map-sharing platforms, or print at home.
- Cost/Metric: Printing on waterproof paper costs about $1 per page; digital sharing is usually free.
- Insider Tip: Offer a simplified overview layer first, then let others toggle deeper details at will.
- Steps:
Adding Contextual Layers
Beyond paths and waypoints, enriching your guide with local stories increases the sense of place. Think about crafting small vignettes: a cobbled alley’s history, the recipe behind a beloved bakery’s pastry, or the craftsmanship behind an artisan’s workshop down the lane. Add these notes sparingly so they surprise and delight without overwhelming the visual flow.
To tell spatial stories, embed color-coded markers—for example, amber for cultural stops, teal for natural wonders. When planning a coastal trek, note hidden tidepools or vantage points where sunrise paints the water gold. These subtle touches turn coordinates into chapters of a personal journey.
- Pin cultural hotspots, include a brief narrative, then group under a single legend entry.
- Highlight natural formations with watercolor-style overlays to evoke atmosphere.
- Create micro-legends for food and drink stops, guiding taste explorations smoothly.
- Use dashed lines or secondary paths to show optional discovery loops.
- Combine written notes with small icons representing sounds—a bird for birdcalls or a wave for coastal breezes.
For an online companion, embed this layer alongside your main blueprint and see how curious viewers linger on every detail of your personalized maps, ready to follow your curated story.
Interactive Enhancements
Add dynamic elements that encourage explorers to interact beyond static images. Turn your guide into an interactive webpage or mobile overlay where users tap icons to reveal hidden tips. Embed short audio clips of local street sounds or a narrator’s voice highlighting a secret passage beneath arches.
Use simple JavaScript pop-ups or built-in features of mapping platforms. Link each pop-up to an image gallery or a short video clip. These surprises deepen immersion and ignite curiosity about corners often skipped on standard routes.
Sharing and Reflecting
Share your guide in formats that match your audience—printable for offline use or interactive for digital readers—and invite others to contribute their insights. After your trip, refine your guide based on real experiences to enhance future adventures. Each revision turns your journey into a personalized story that grows with every step.
 (Image via


