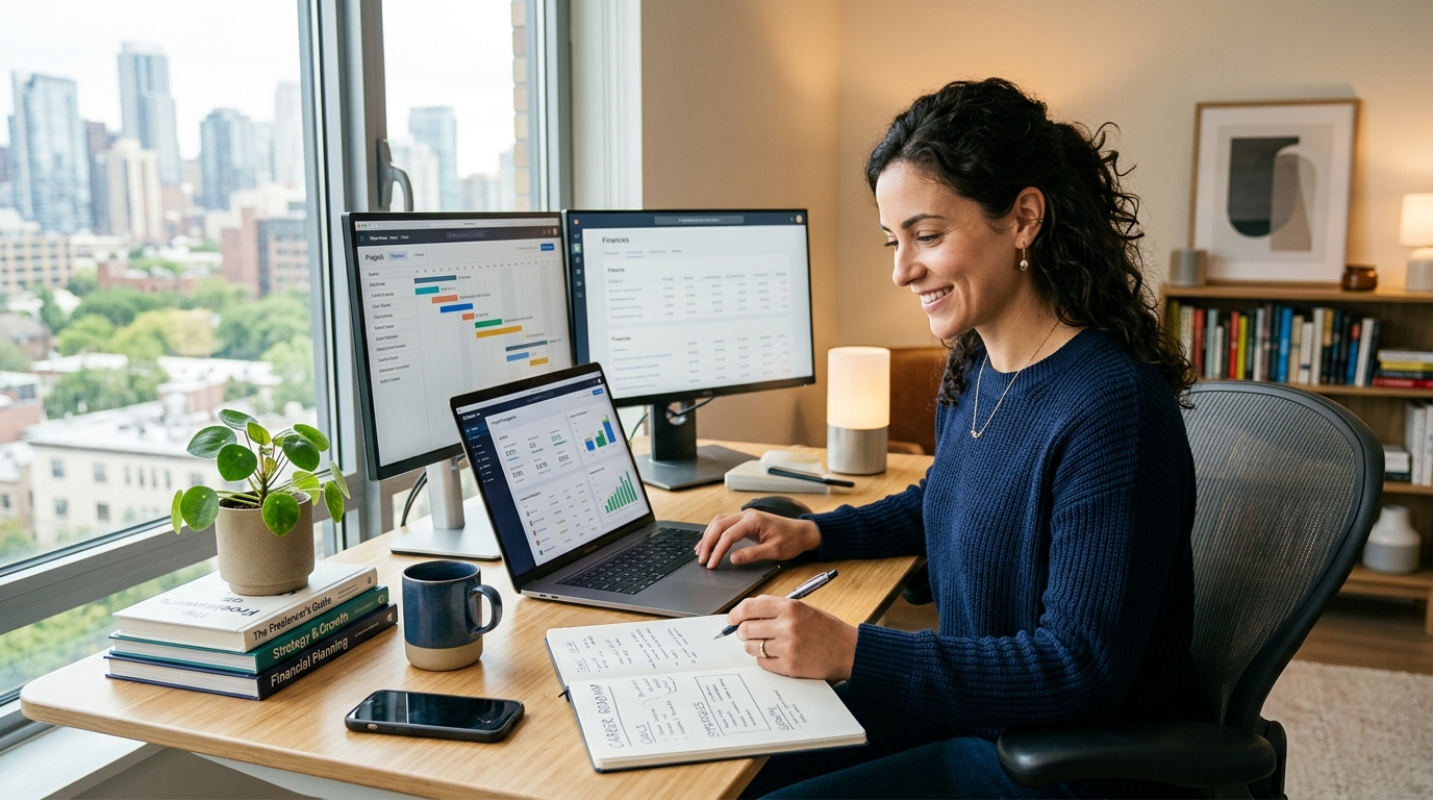
Creating a comfortable spot for taking photos at home often brings a sense of satisfaction as you make the most of your available space. You can capture sharp portraits and eye-catching product images even in a smaller area. This guide helps you choose the best location, select equipment you can use in different ways, boost the lighting in your setup, keep your space tidy, and design striking backgrounds. With a few thoughtful changes, you can turn even a small corner into a practical and inviting home photography studio that suits your needs.
Assess Your Available Space
- Measure the length, width, and ceiling height of your chosen area.
- Note any windows, outlets, or built-in furniture that affect positioning.
- Sketch a rough floor plan to test different placements for lights and backdrop.
- Check for natural light patterns throughout the day to spot bright spots or dark corners.
Carefully plan your small workspace. Write down exact dimensions and features to visualize where to place your gear and prevent last-minute rearrangements. A simple paper sketch often sparks ideas you might miss staring at bare walls.
Next, think about how you move around the space. Leave at least two feet of clearance behind your tripod for repositioning and light stands. Find power outlets beforehand so you avoid trailing cords across high-traffic zones.
Select Essential Equipment
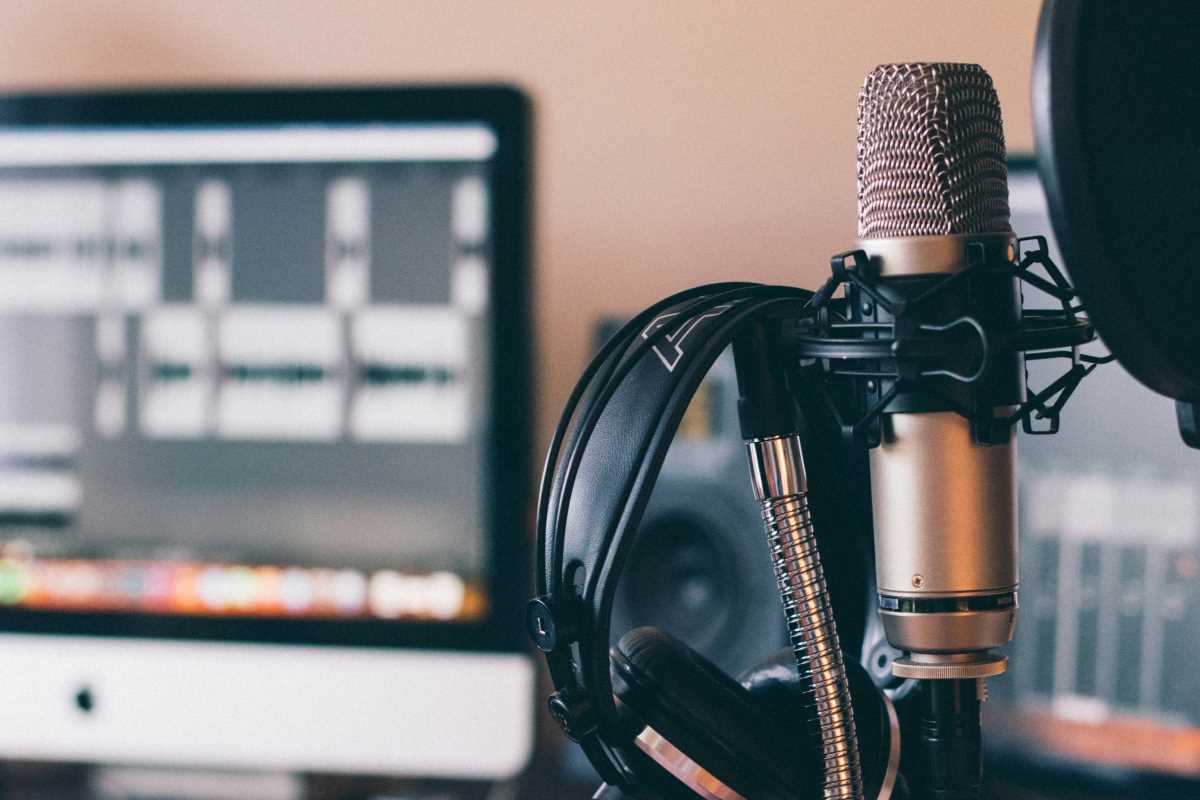
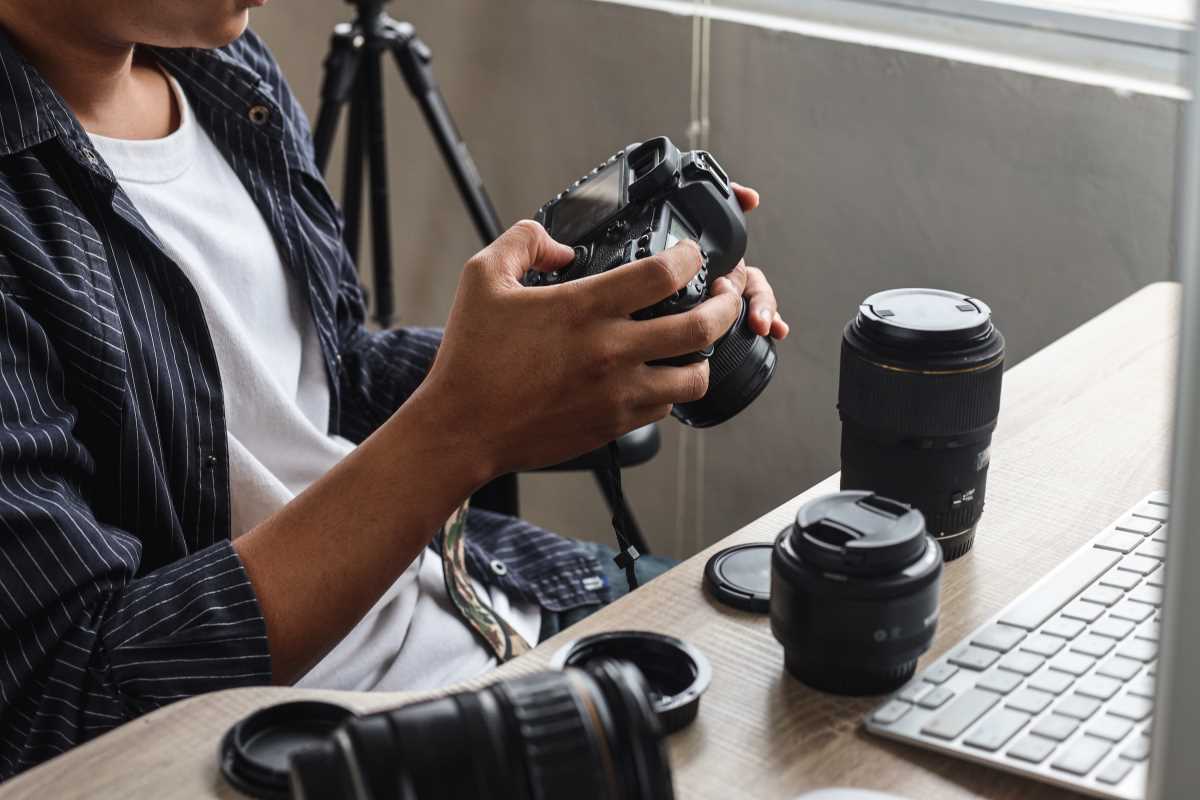
- Camera: A mirrorless model balances compact size with sharp images.
- Lenses: Choose a versatile zoom (24–70mm) and a prime lens (50mm) for crisp portraits.
- Tripod: Pick a lightweight, adjustable stand that folds flat for storage.
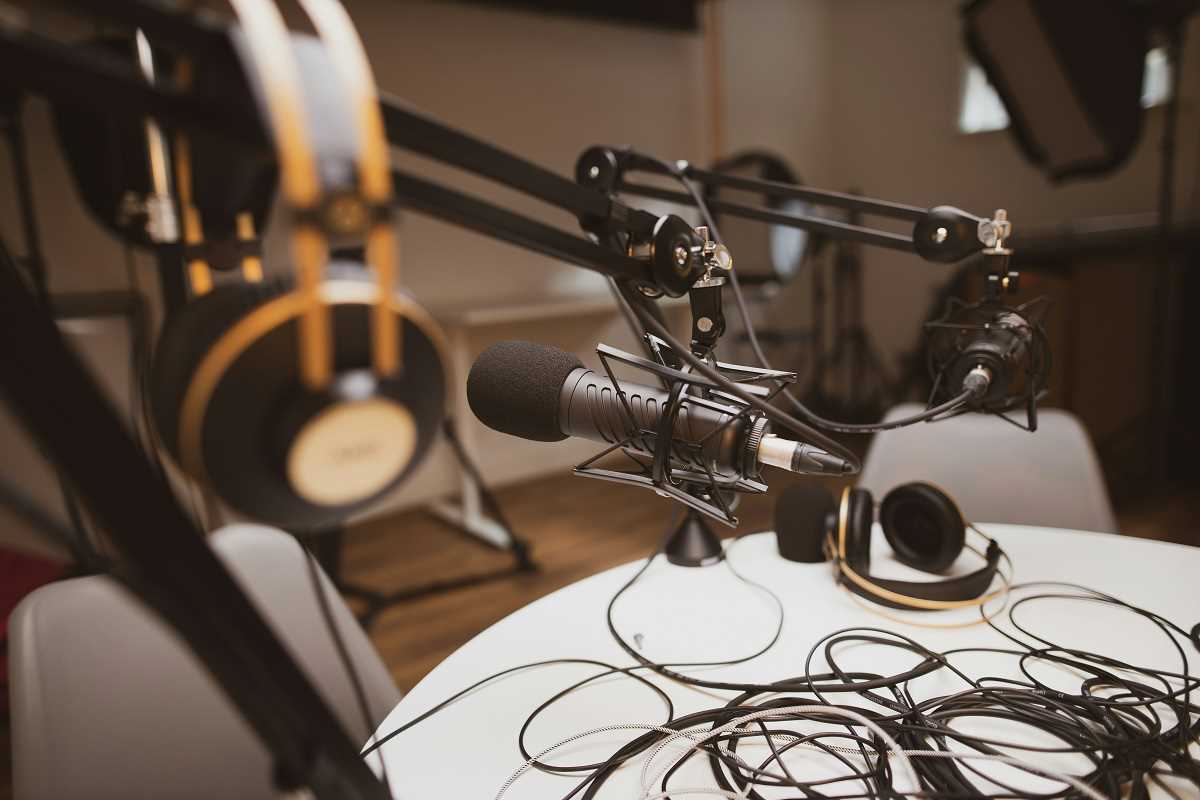
- Lighting: Use two LED panels with adjustable color temperature and brightness.
- Backdrop support: Use a portable stand or a wall-mounted rod to save floor space.
A mirrorless camera often provides performance comparable to larger DSLRs, but in a smaller package. Pair it with a 24–70mm zoom lens to frame wide product shots and tight headshots without swapping gear during a session. The 50mm prime keeps portraits sharp and creates a nice bokeh blur.
LED panels work without generating excess heat or bulky ballast. Find models that fold or detach from their stands. Attach a diffuser or softbox to soften glare and direct light exactly where you need it. Use a backdrop rod fixed to the wall or ceiling to free up floor space, keeping your shooting area clear.
Optimize Lighting in a Compact Area
Small spaces can intensify harsh shadows if you place lights too close. Position your main LED panel at a 45-degree angle to your subject. Keep it at least three feet away to soften the light and spread it evenly. Use a diffuser or softbox to reduce glare and focus the light where needed.
Add a fill light on the opposite side of your main source at a lower intensity. It balances shadows without flattening the depth. Use a reflector—a foldable, inexpensive disc—to bounce highlights back into your scene. A neutral or silver side works best for portraits.
Natural light from windows can add warmth and variation during daytime shoots. Match your LED color temperature to daylight (around 5500K) so your camera captures accurate colors. When evening comes, hang a blackout curtain over the window and rely solely on your LED panels for consistent results.
Organize and Store Your Gear Effectively
Untangling cords and searching for accessories wastes valuable creative time. Mount a pegboard on the wall to hang cables, clamps, and small tools. Use transparent bins on floating shelves to hold memory cards, lens caps, and batteries sorted by type. Label each bin for quick access.
Store your tripod and light stands collapsed behind a narrow door or under a bed. Use soft cases that fold flat to keep gear dust-free when not in use. A slim rolling cart with three tiers can move between your shooting area and storage closet, holding your most-used lenses and reflectors.
Design Creative Backgrounds and Layouts
Switching backdrops transforms the same space into multiple creative zones. Hang neutral paper rolls or lightweight fabric on a wall rod; change colors quickly. For portraits, try muted earth tones or subtle patterns that match clothing. For products, crisp white or pastel boards make items stand out.
Layer textures by draping faux brick wallpaper over a foam board for an industrial look. Clip silk flowers or leafy branches onto the backdrop edge for lifestyle shots. Lean vertical wooden planks against a corner for rustic appeal—just make sure they are light enough to move safely.
Experiment with camera angles. Shooting a tabletop scene from slightly above highlights shapes and details. For full-body shots, step back and tilt your camera slightly upward to add height and drama. Place small mirrors off-camera to reflect light and add subtle sparkle to fashion or still-life compositions.
With the right lighting, storage, and backdrops, your compact setup can deliver professional results. Use your camera to capture each shot and enjoy the process.